How to Find LiDAR Sensor IP Address Using Wireshark
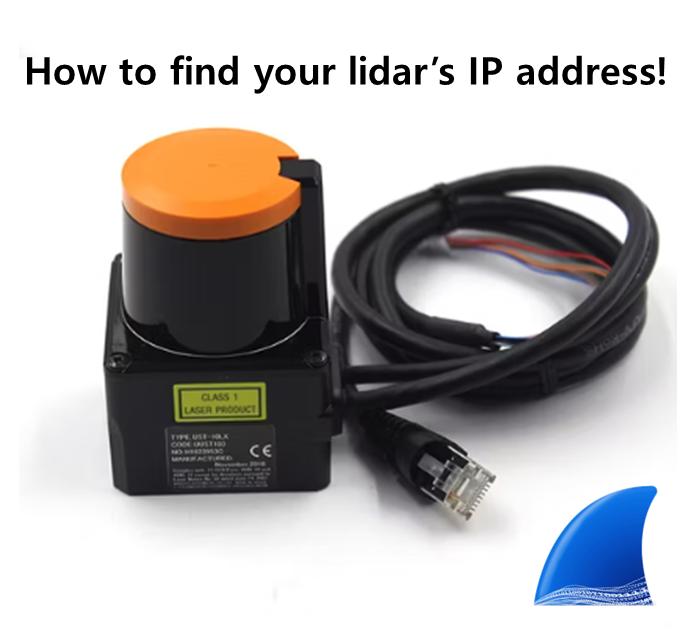
To connect a LiDAR sensor to your PC, you need to identify the IP address configured on the sensor. This post introduces how to use Wireshark to determine the sensor’s IP address and its IP subnet.
Installing Wireshark
You can use Wireshark to identify the sensor’s IP address and the subnet it belongs to (e.g., 192.168.0.10).
Download Wireshark from the official website and install it for your operating system.
- Official site: https://www.wireshark.org/
If you are using Windows, you can download the .exe installer from the link above.
If you are using Ubuntu, you can install and run it with the following commands:
sudo apt install wireshark
sudo wireshark
Finding the Sensor IP Address
When you connect the PC and the sensor via Ethernet, a list of currently connected network interfaces will be displayed as shown below.
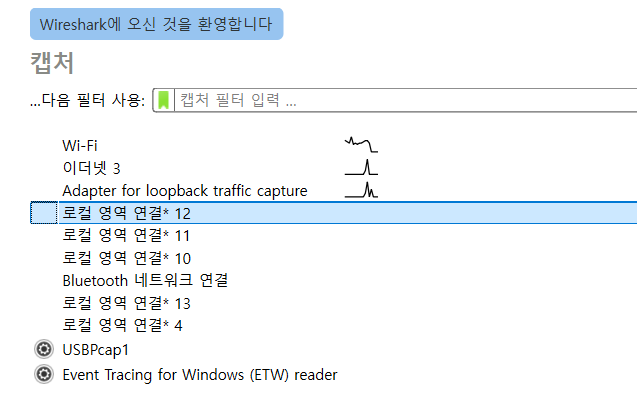
Select the Ethernet interface to which the sensor is connected and start capturing packets. You will see that the sensor is periodically transmitting data.
By checking the Source IP address in the packet list, you can identify the IP address the sensor is using, and from that, infer the IP subnet (e.g., 192.168.0.x) the sensor belongs to.
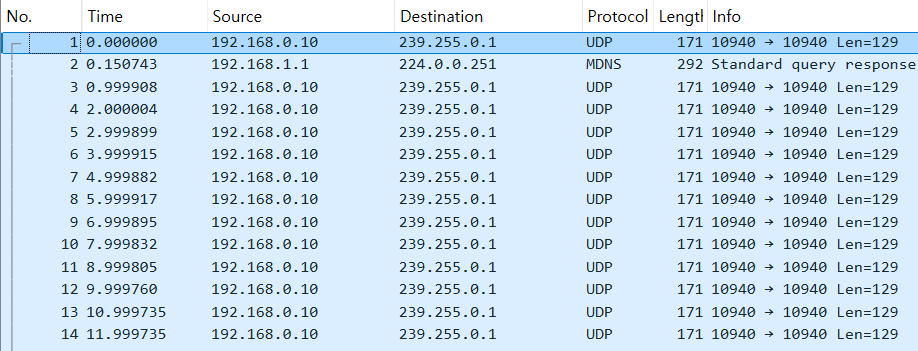
In the example above, the Source IP is shown as 192.168.0.10, which indicates the IP address configured on the LiDAR sensor.
Conclusion
This post covered how to use Wireshark to find a LiDAR sensor’s IP address when it is unknown. By connecting the sensor via Ethernet and checking the Source IP in Wireshark’s packet capture, you can easily determine the sensor’s IP address and subnet.
After identifying the IP address, you need to manually assign an IP in the same subnet to your PC’s network settings to communicate with the sensor properly.