Occupancy Grid Mapping: Sensor Fusion and Practical Mapping
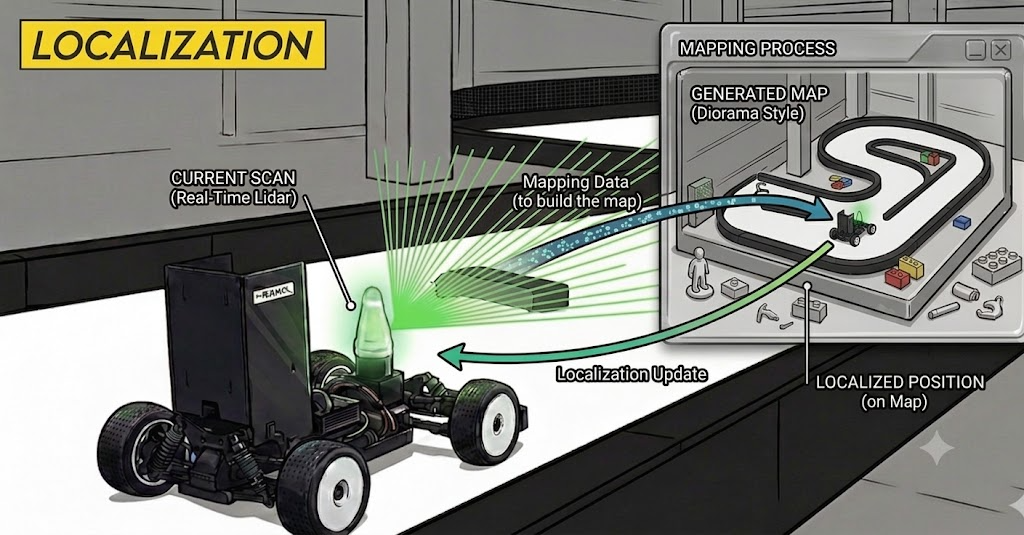
There are many SLAM algorithms for mapping — GMapping, Hector SLAM, Karto SLAM, and more. Among them, the UNICORN Racing team uses Google’s Cartographer as our main choice, because it offers better stability and performance than the alternatives.
Data You Can Use for Mapping
Cartographer flexibly supports various sensor combinations — built around LiDAR, optionally adding (Wheel) Odometry, IMU, and so on. Each sensor has the following characteristics.
- LiDAR (required) — provides direct range measurements.
- Range limit: a LiDAR with, say, a 10 m detection range degrades sharply on straights longer than 20 m.
- Performance drops further on surfaces with low reflectivity (dark materials or colors).
- 2D-LiDAR-specific issues: if the mount is misaligned it may look at the ground or the sky, and if the body is not rigid enough it may stay fine at rest but tilt to see the ground or sky during a race due to vibration.
- Wheel Odometry (optional) — provides additional linear/angular velocity information.
erpm_gain,servo_gain, andwheelbasemust be accurate.- Even when accurate, it becomes very unreliable on slippery surfaces or during abnormal motion (spin, drift, jump).
- IMU (optional) — provides direct linear acceleration and angular velocity.
- In a 2D setting where roll·pitch are not precisely known, linear acceleration is hard to use directly.
- Its noise characteristics must be handled carefully.
The Problem: When Max Range Is Too Short
A commonly used 10 m-class LiDAR makes localization unstable on a 20 m straight. To reproduce this situation, we capped the maximum detection range at 3 m.
1
2
TRAJECTORY_BUILDER_2D.max_range = 3.
TRAJECTORY_BUILDER_2D.missing_data_ray_length = 1.
The three videos below map the same long-corridor section, changing only the sensor combination.
LiDAR only
The car is actually moving forward, but with no way to sense that motion it is judged to be stationary. As a result, the map is distorted as if the wall ahead keeps getting closer.
LiDAR + IMU
Even with the IMU added, there is no velocity information, so the wall ahead still creeps closer. Still, two things are worth noting.
- It shakes less than using LiDAR alone.
- The IMU’s linear acceleration includes gravity; without a 3D pose (roll·pitch), the gravity component cannot be separated, so integrating linear acceleration to obtain velocity is effectively impossible.
LiDAR + IMU + Odometry
Thanks to the odometry’s linear-velocity information, the car recognizes its forward motion even while the front LiDAR measurements are ignored (due to the range cap). In other words, it correctly understands that the wall ahead is fixed in the global frame.
Preparing for Real-World Mapping
Building a good map takes not only an understanding of the sensor data but also practical know-how.
- Hardware pre-check: no matter how well you tune the parameters, recording a bag is meaningless if the LiDAR is looking at the ground or the sky. Before attempting to map, always verify that the hardware is set up correctly. (For sensor-frame setup, see TF Configuration.)
- Gain check: if you plan to use odometry as well, make sure it actually reflects the true velocity. (See Adaptive Wheel Odometry.)
- Bag-based mapping: rather than running Cartographer live during a drive, it is better to record sensor data to a bag file and replay it offline, iterating on the mapping parameters to produce the best map.
If you want the internals of Cartographer (Local/Global SLAM, loop closure, the Modified Cartographer) and the run commands, also see the Cartographer Mapping Guide.
How to use
Start mapping on the real car with the command below. It brings up the sensors and the Cartographer SLAM stack together.
1
ros2 launch stack_master mapping.launch.xml map:=<map_name>
Drive around the track after launching, and the map is built in real time as shown in the video below.
Once mapping is done, drag a 2D Goal Pose anywhere in RViz. SLAM finishes, and the three files <map_name>.pbstream, <map_name>.png, and <map_name>.yaml are saved automatically under ~/unicorn_ws/src/unicorn-racing-stack/stack_master/maps/.