Wire Management and Final Tidy-Up Guide
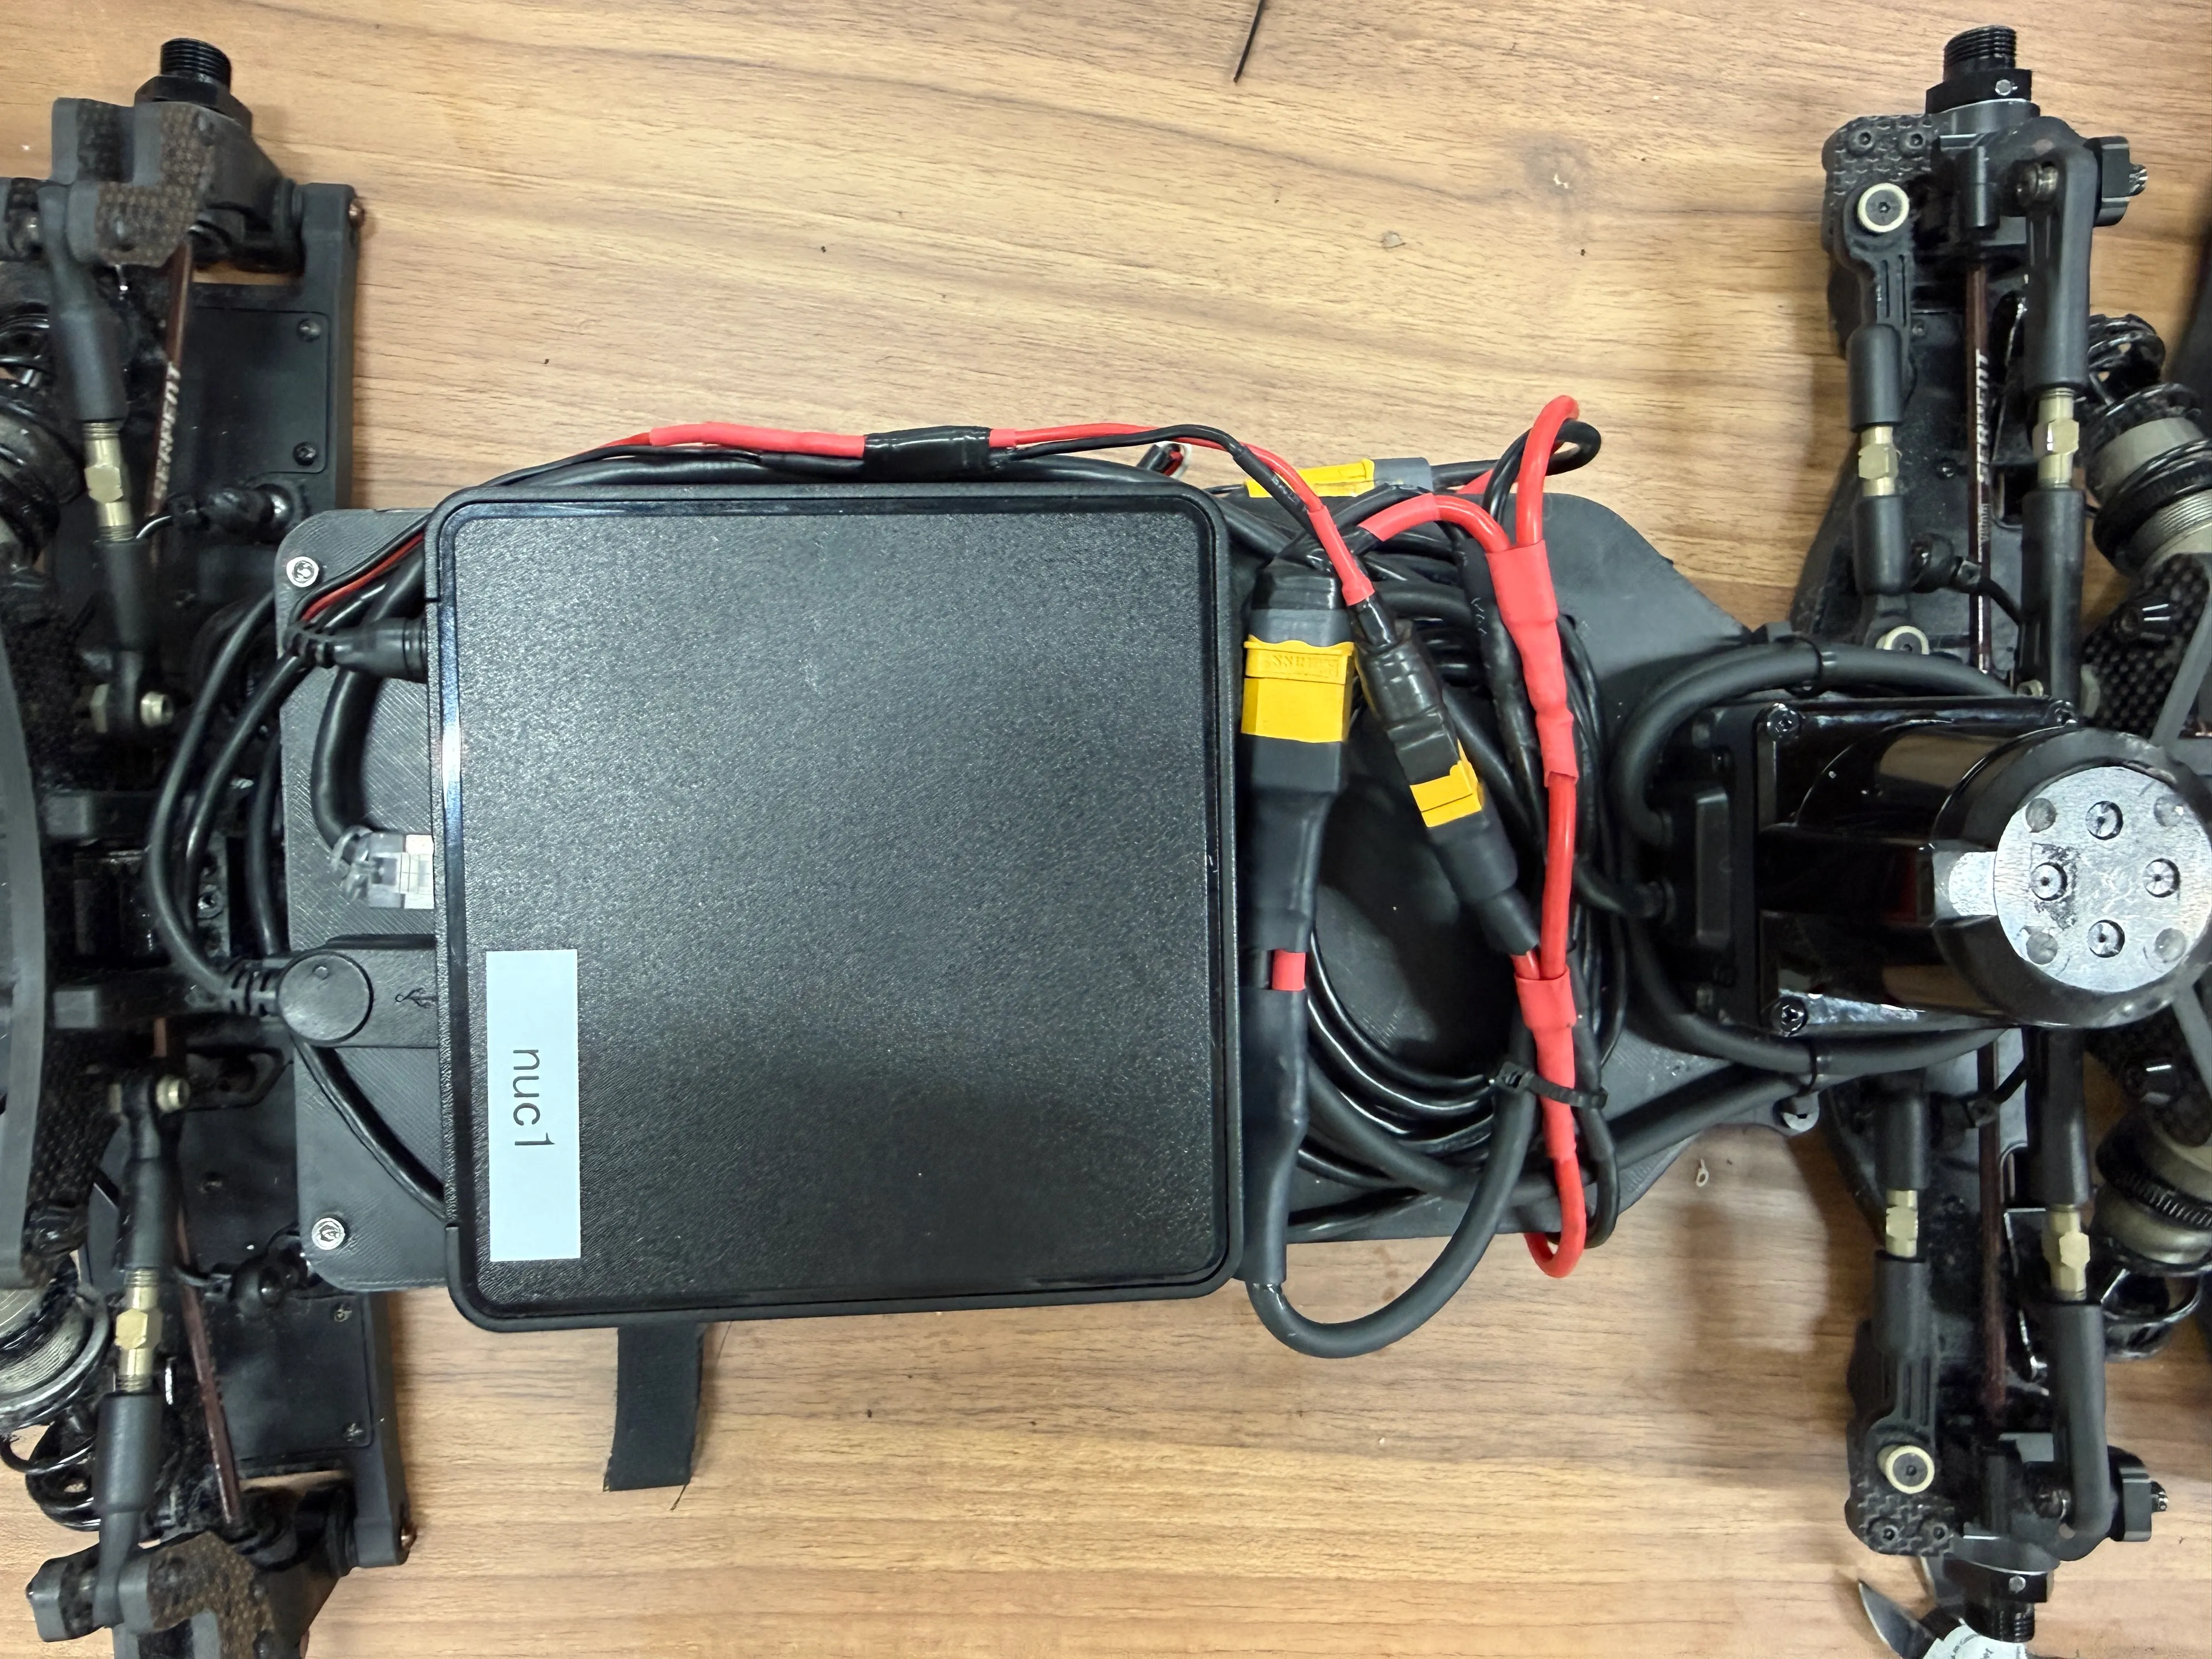
With all major parts mounted on the chassis and top plate, tidy the wiring to prevent interference or disconnection during driving. Follow the steps below to route and secure cables by available spaces.
System Layout Before Tying
After assembling the top plate, we reviewed the overall wiring flow. The diagram is for reference only.
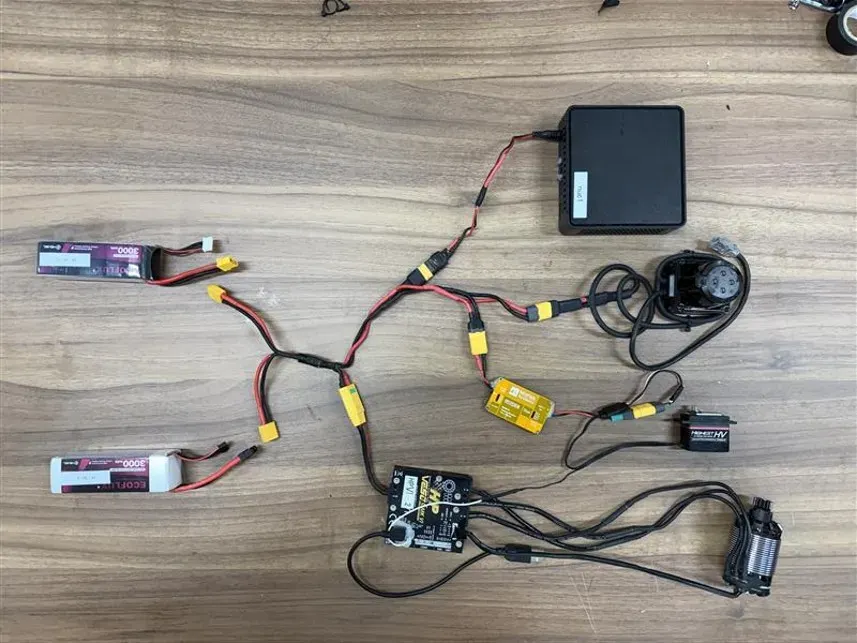 Overall wiring flow
Using the Space Beside the Servo
The VESC power harness is routed through the open space next to the servo so it reaches the battery bay directly. Extra slack is fixed with silicone tape.
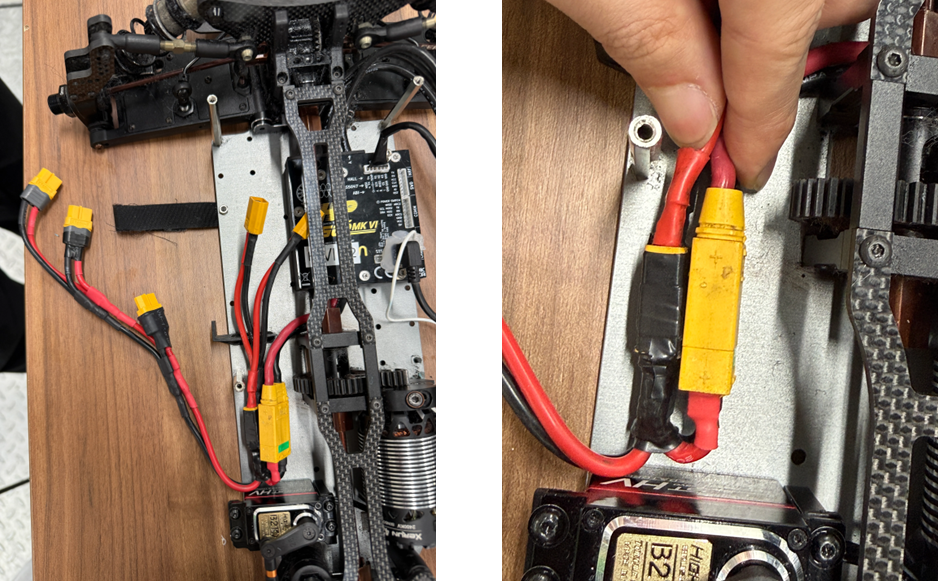 Routing the VESC harness beside the servo
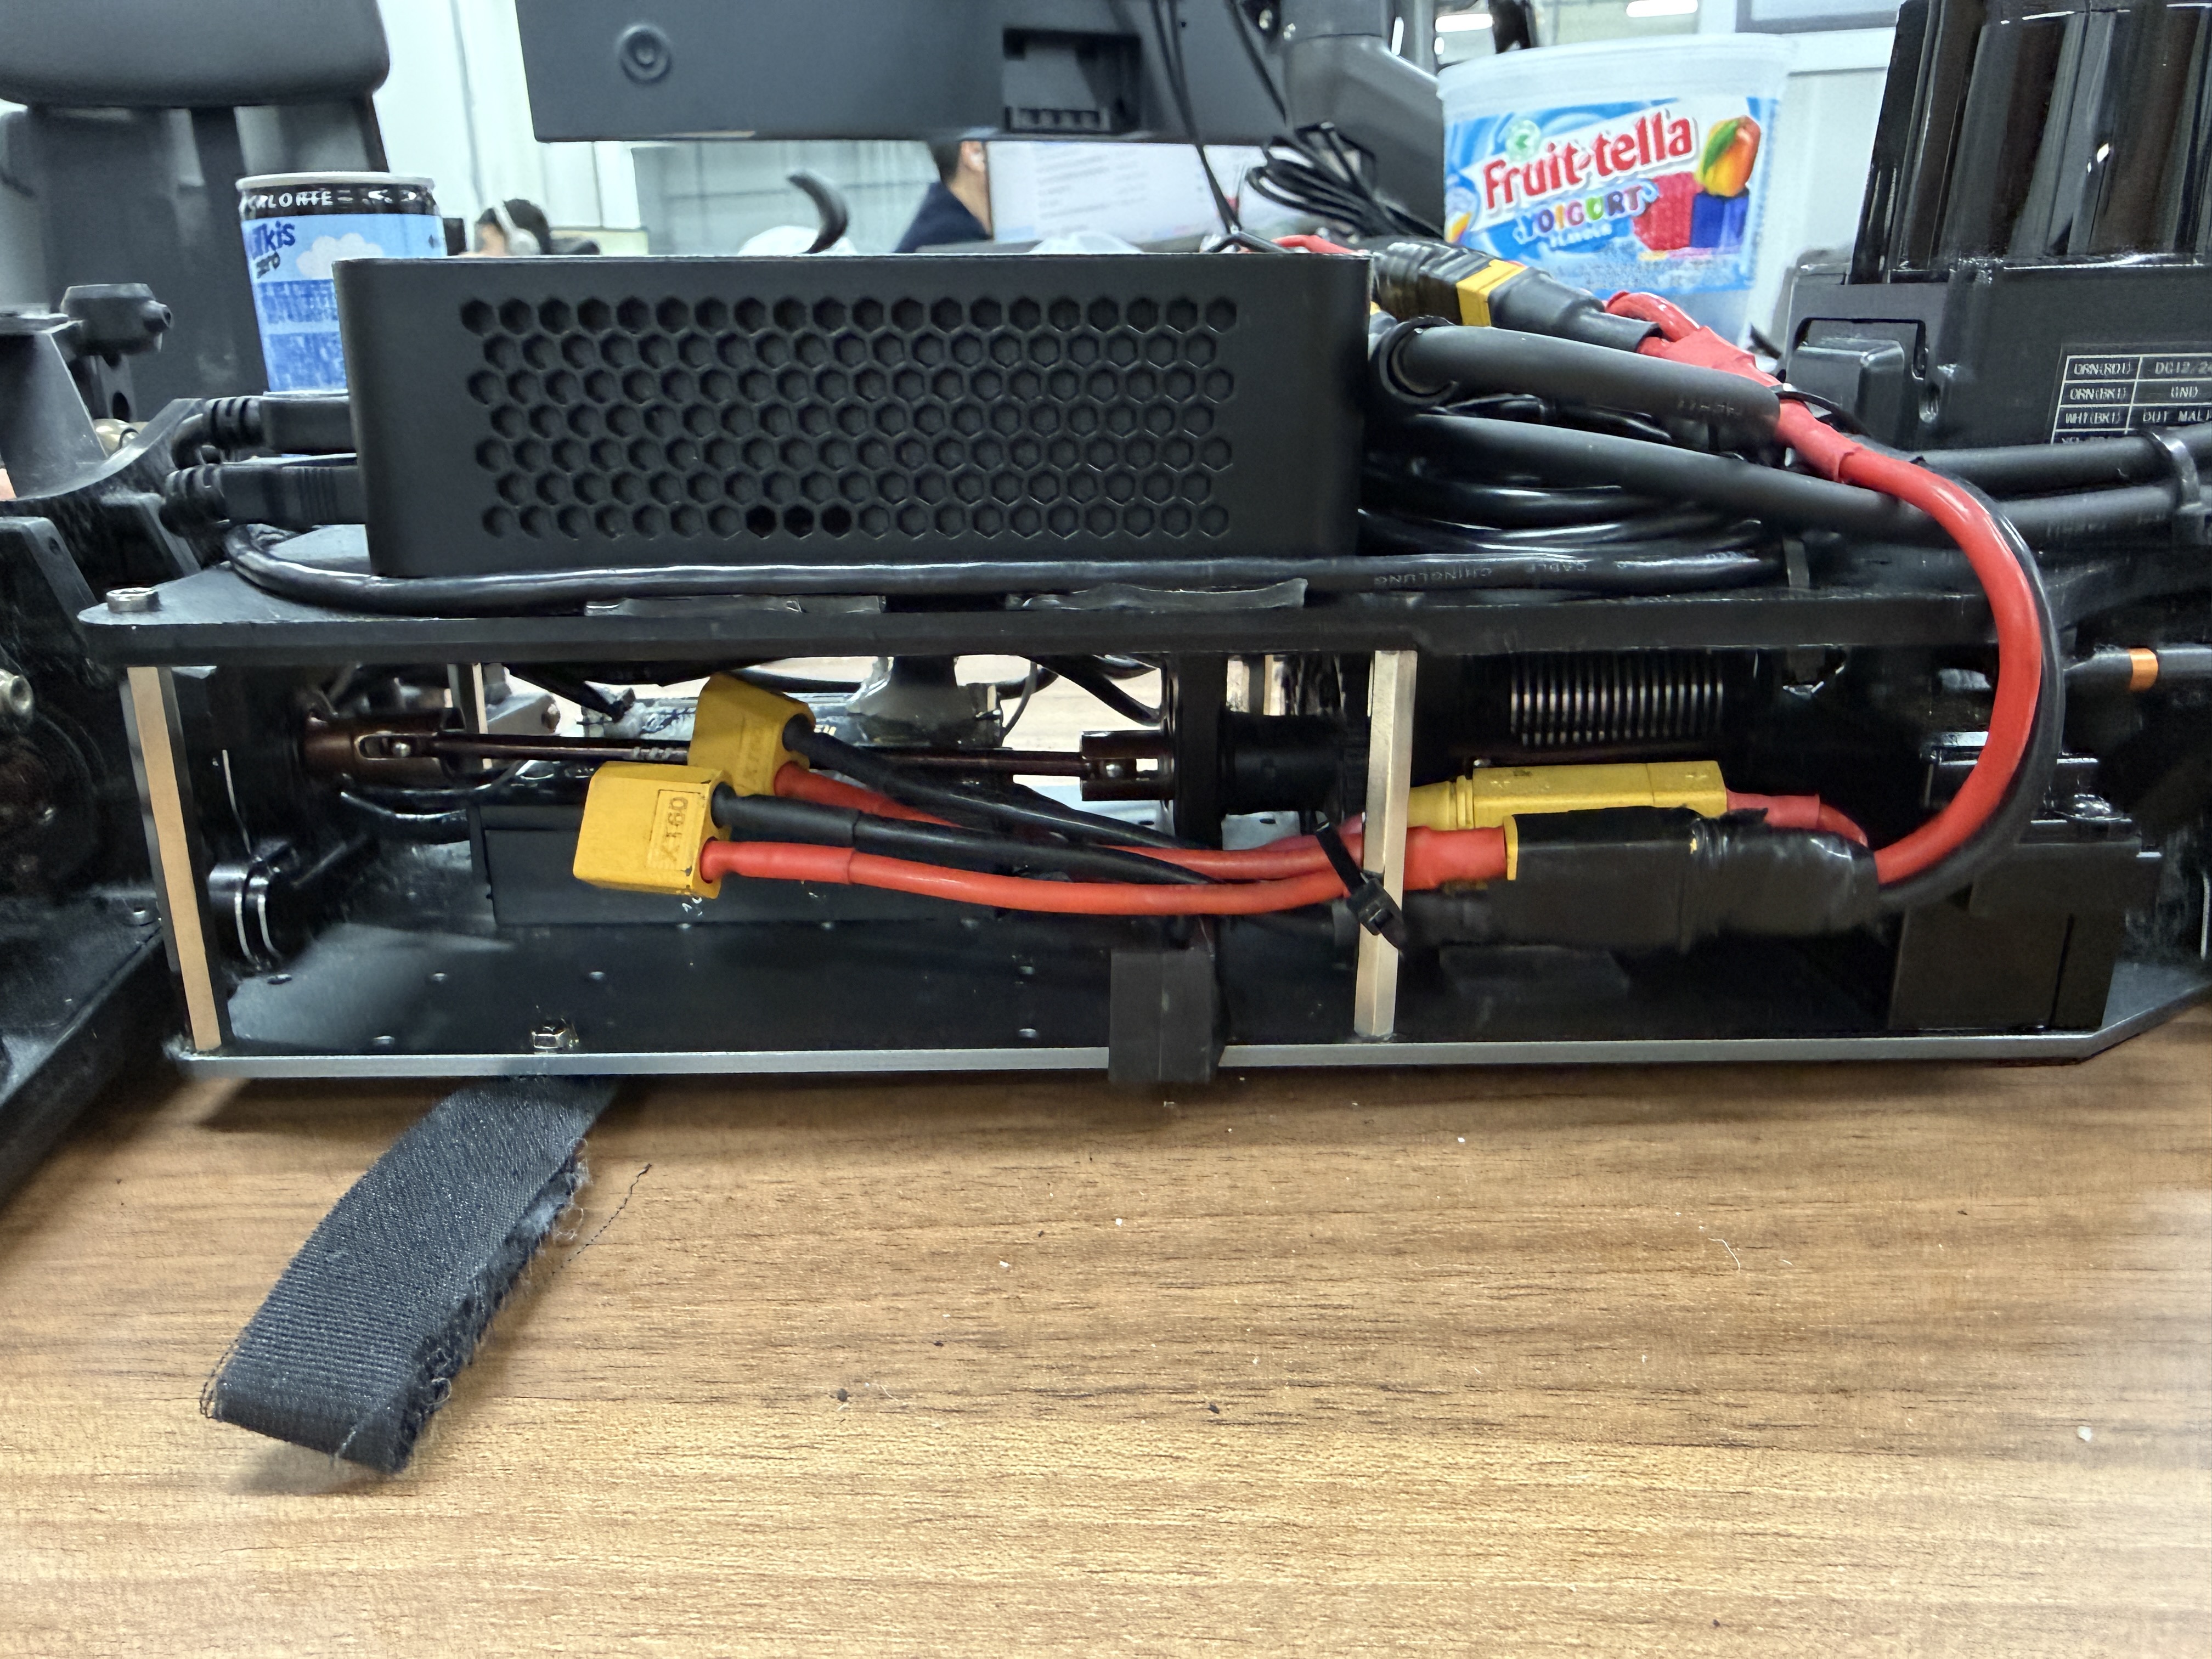 View after the top plate is assembled
Using the Underside of the Top Plate
NUC and servo power cables are taped to the underside of the top plate, and the Matek BEC is fixed in the empty space next to the lower BEC with silicone tape.
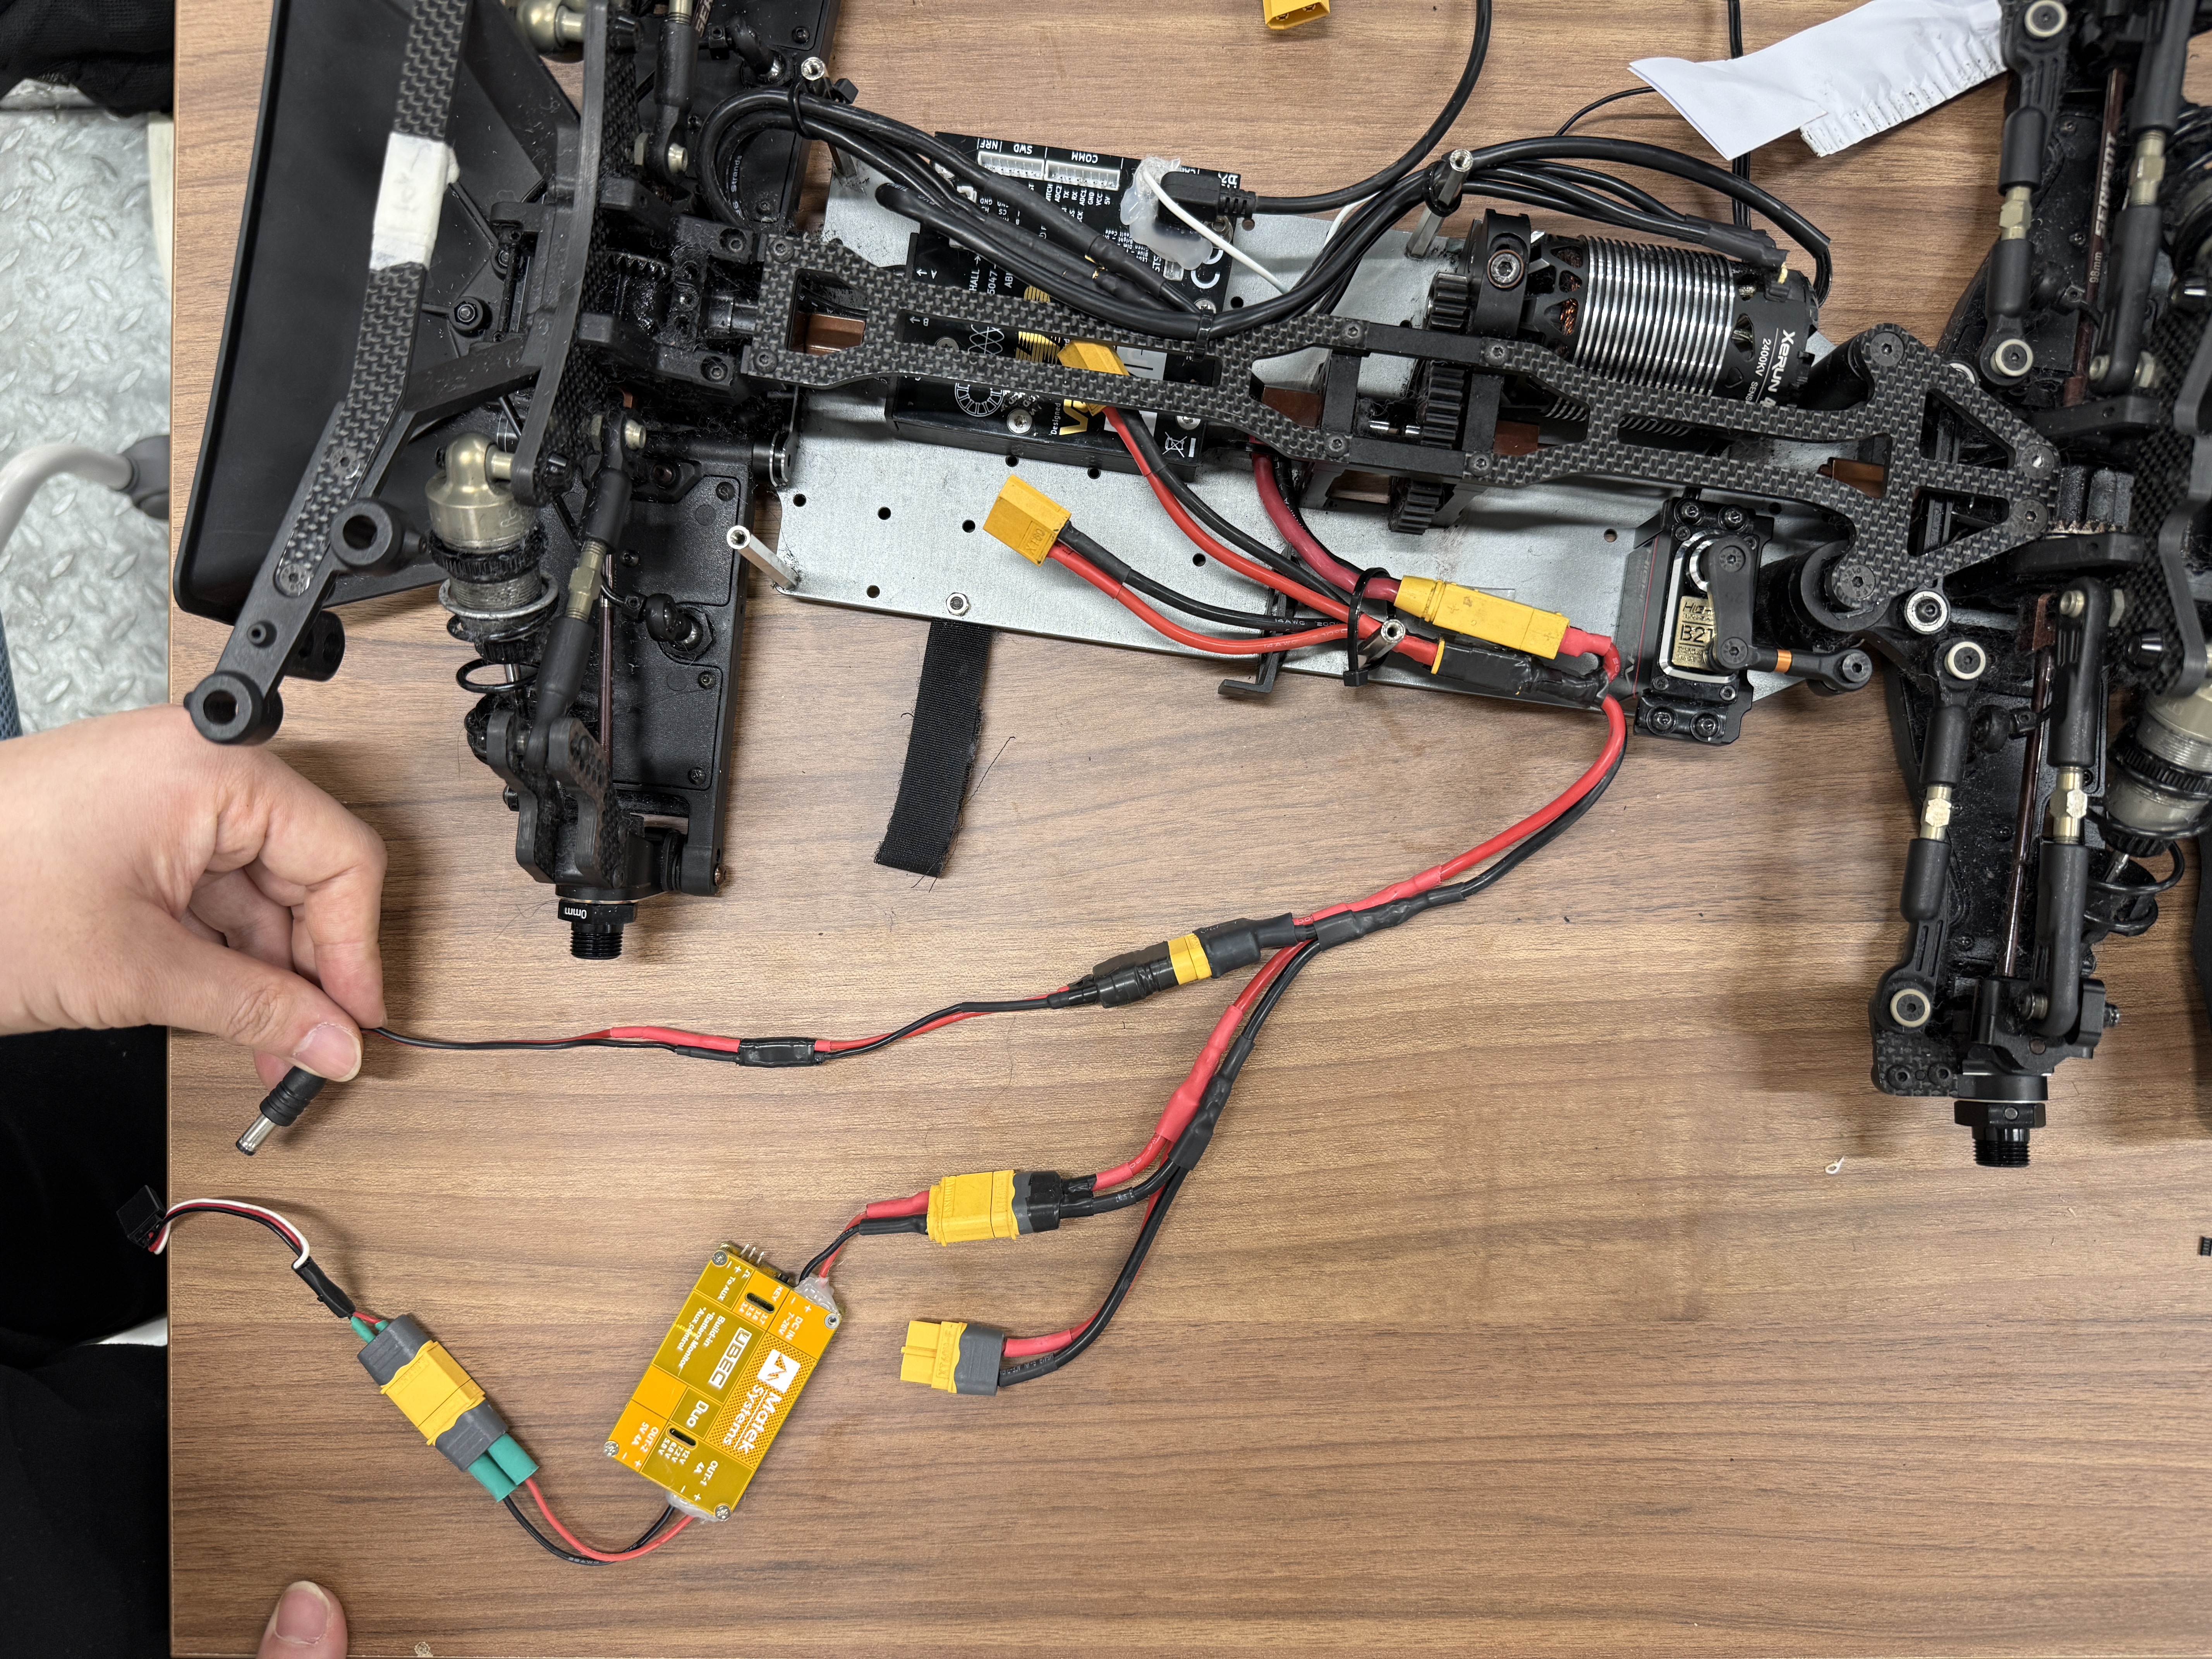 Added BEC and barrel jack connections
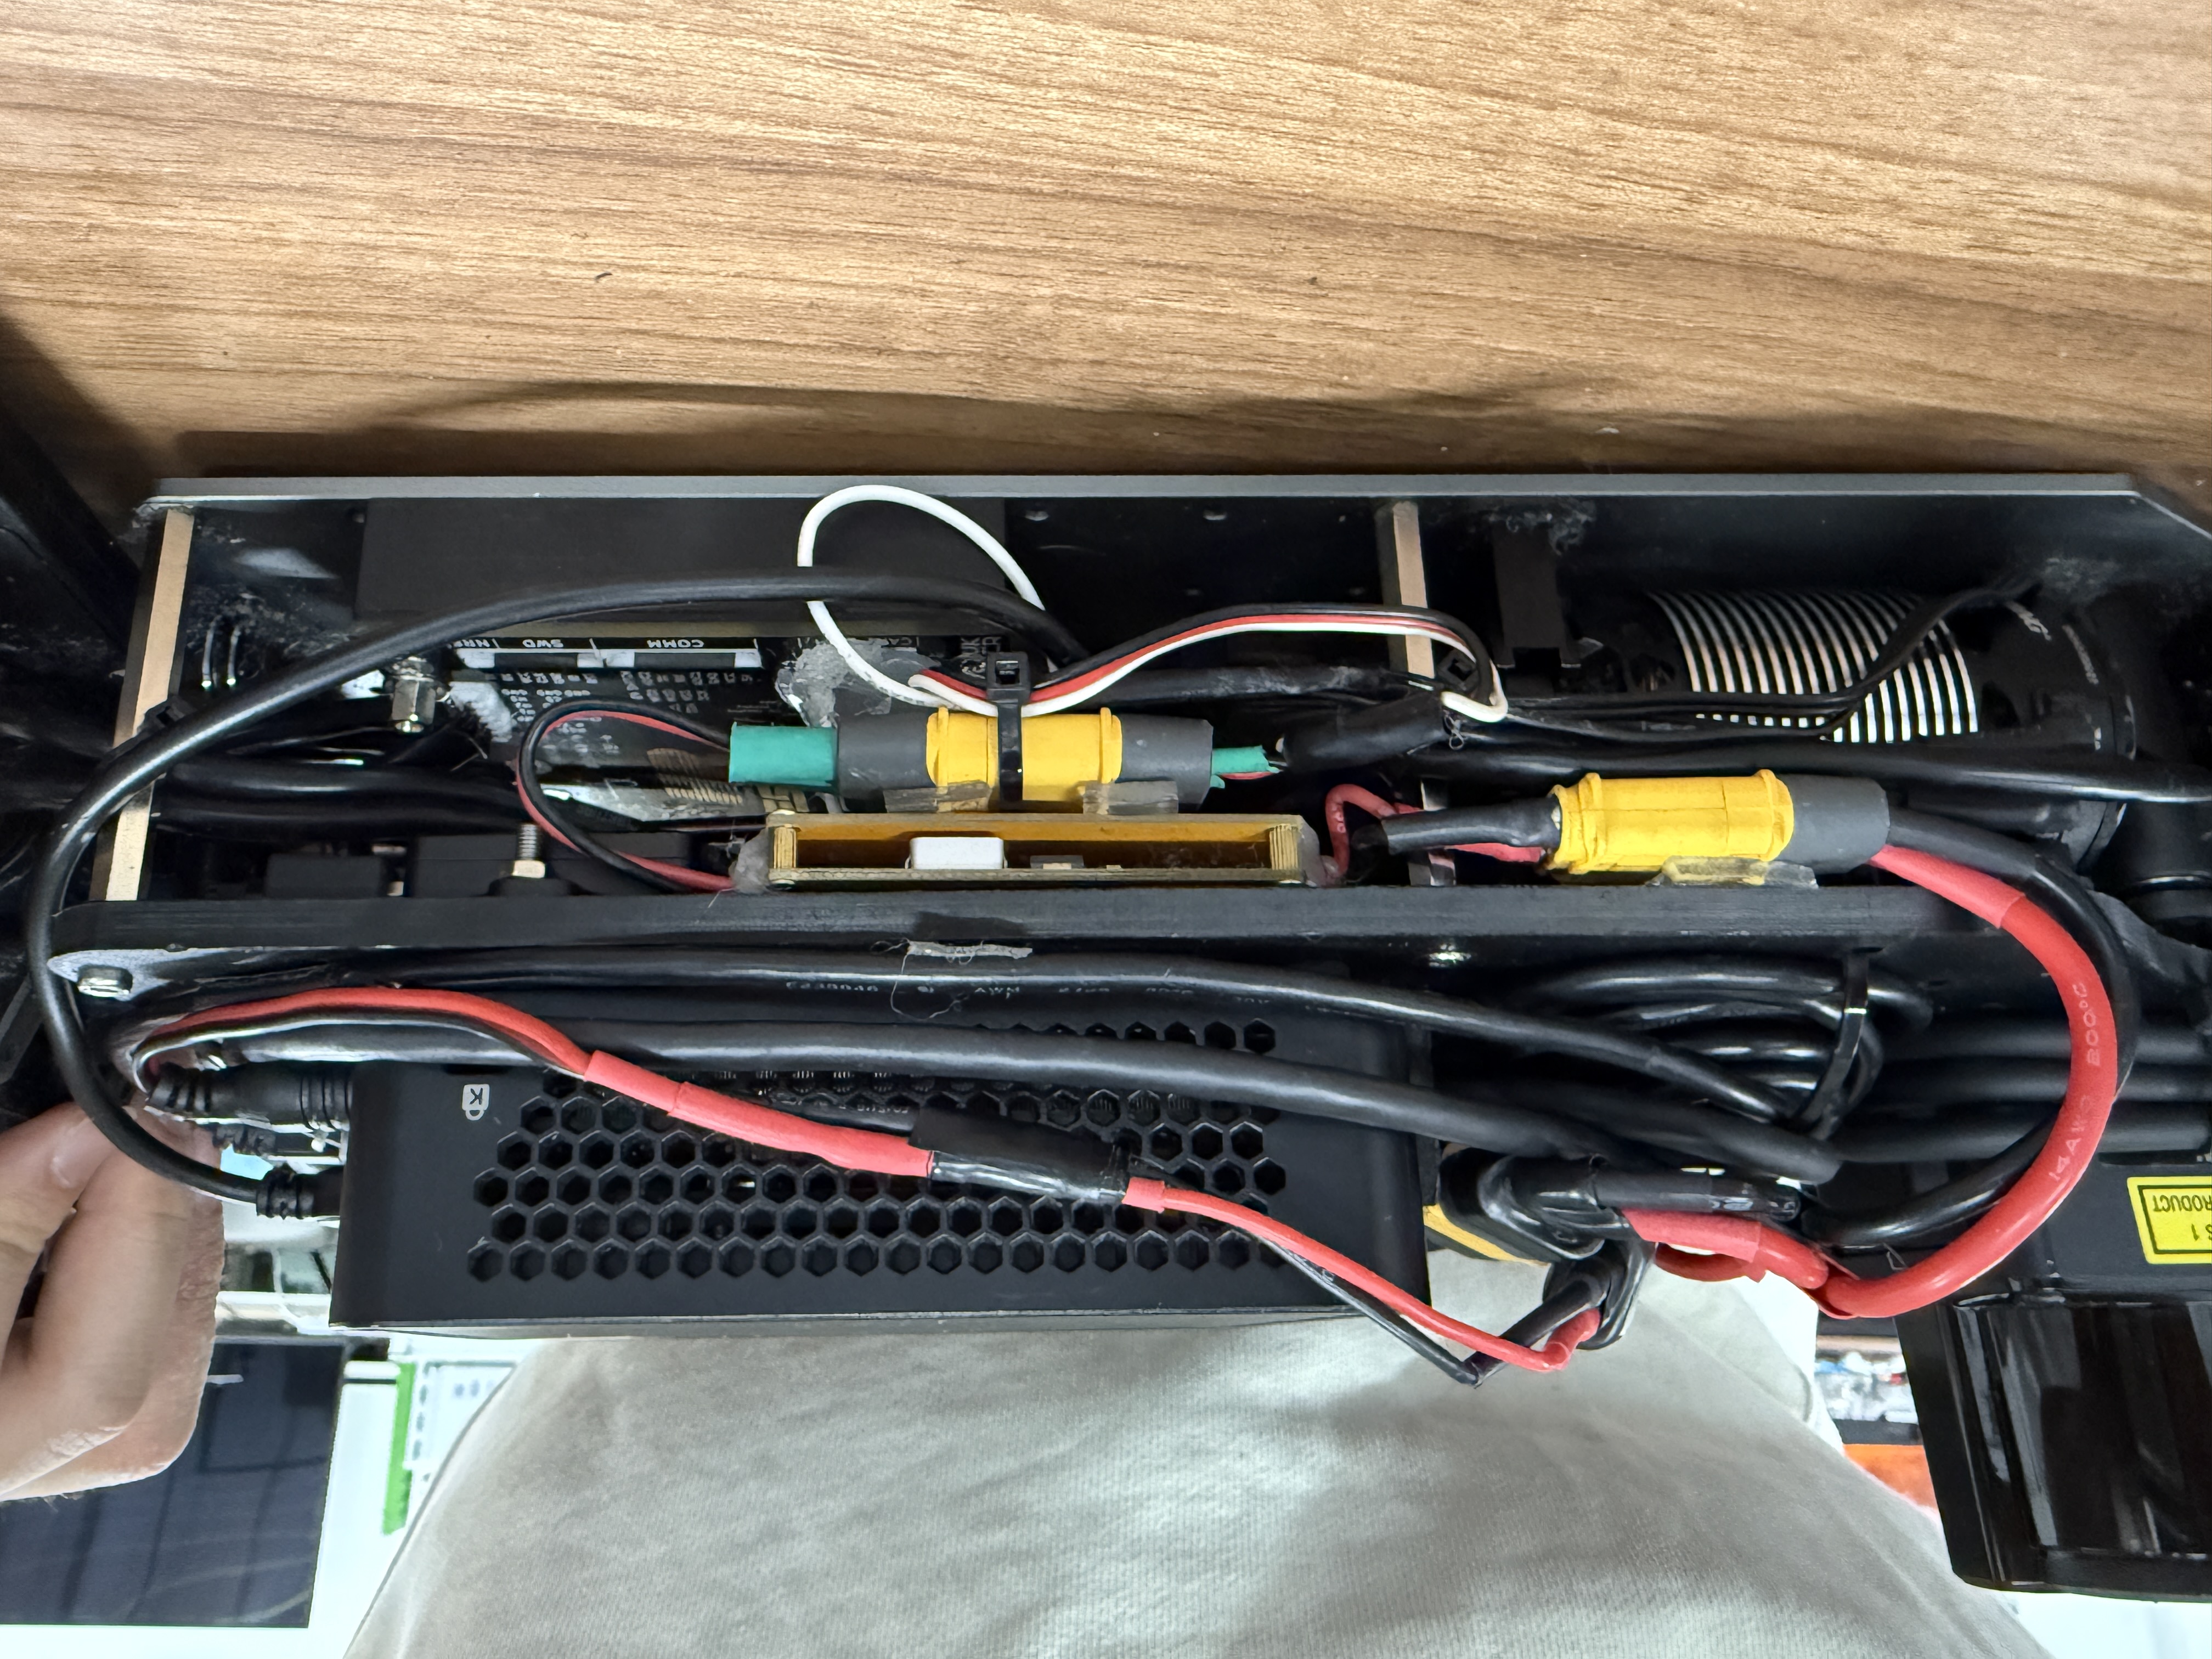 Using the underside space for tidy routing
Using the Chassis Structure
Motor phase and sensor cables run close to the shaft, so we used the chassis ribs as anchor points and tied them down to prevent contact during driving.
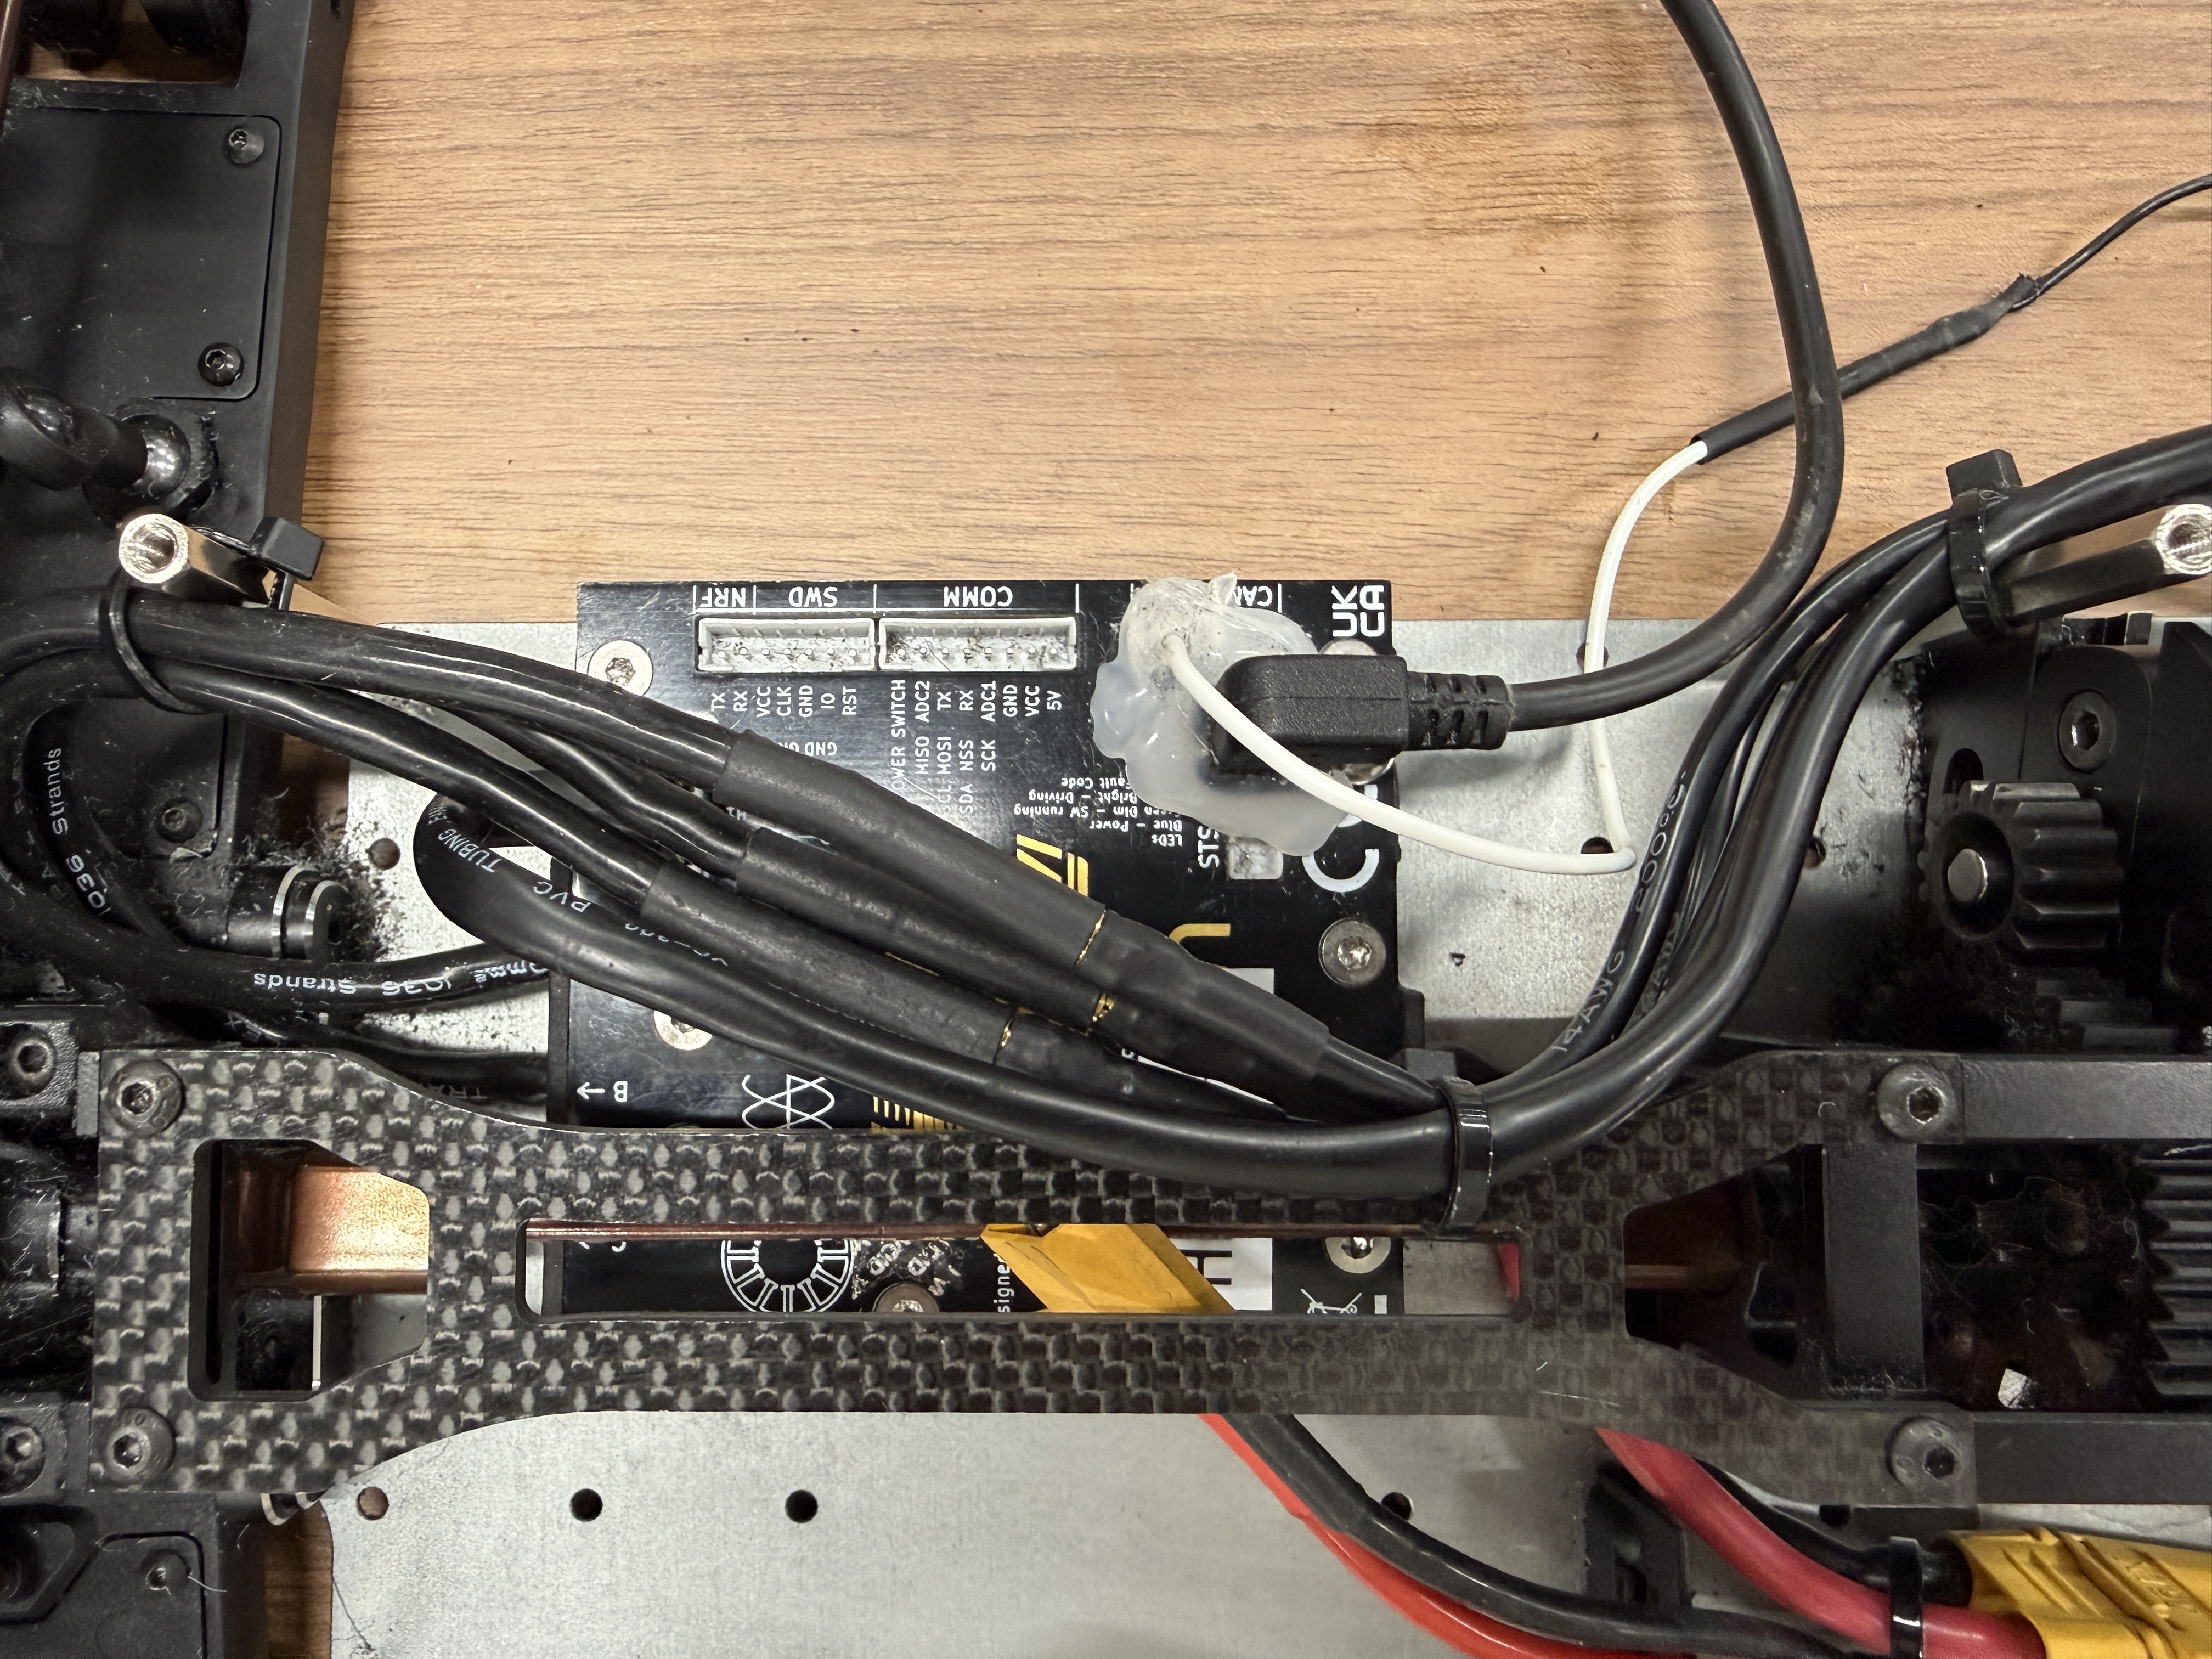 Cable ties on chassis ribs keep motor lines clear of the shaft
Using Remaining Space Above the Top Plate
After closing the top plate, leftover cables are coiled into the remaining space and fixed to stop movement.
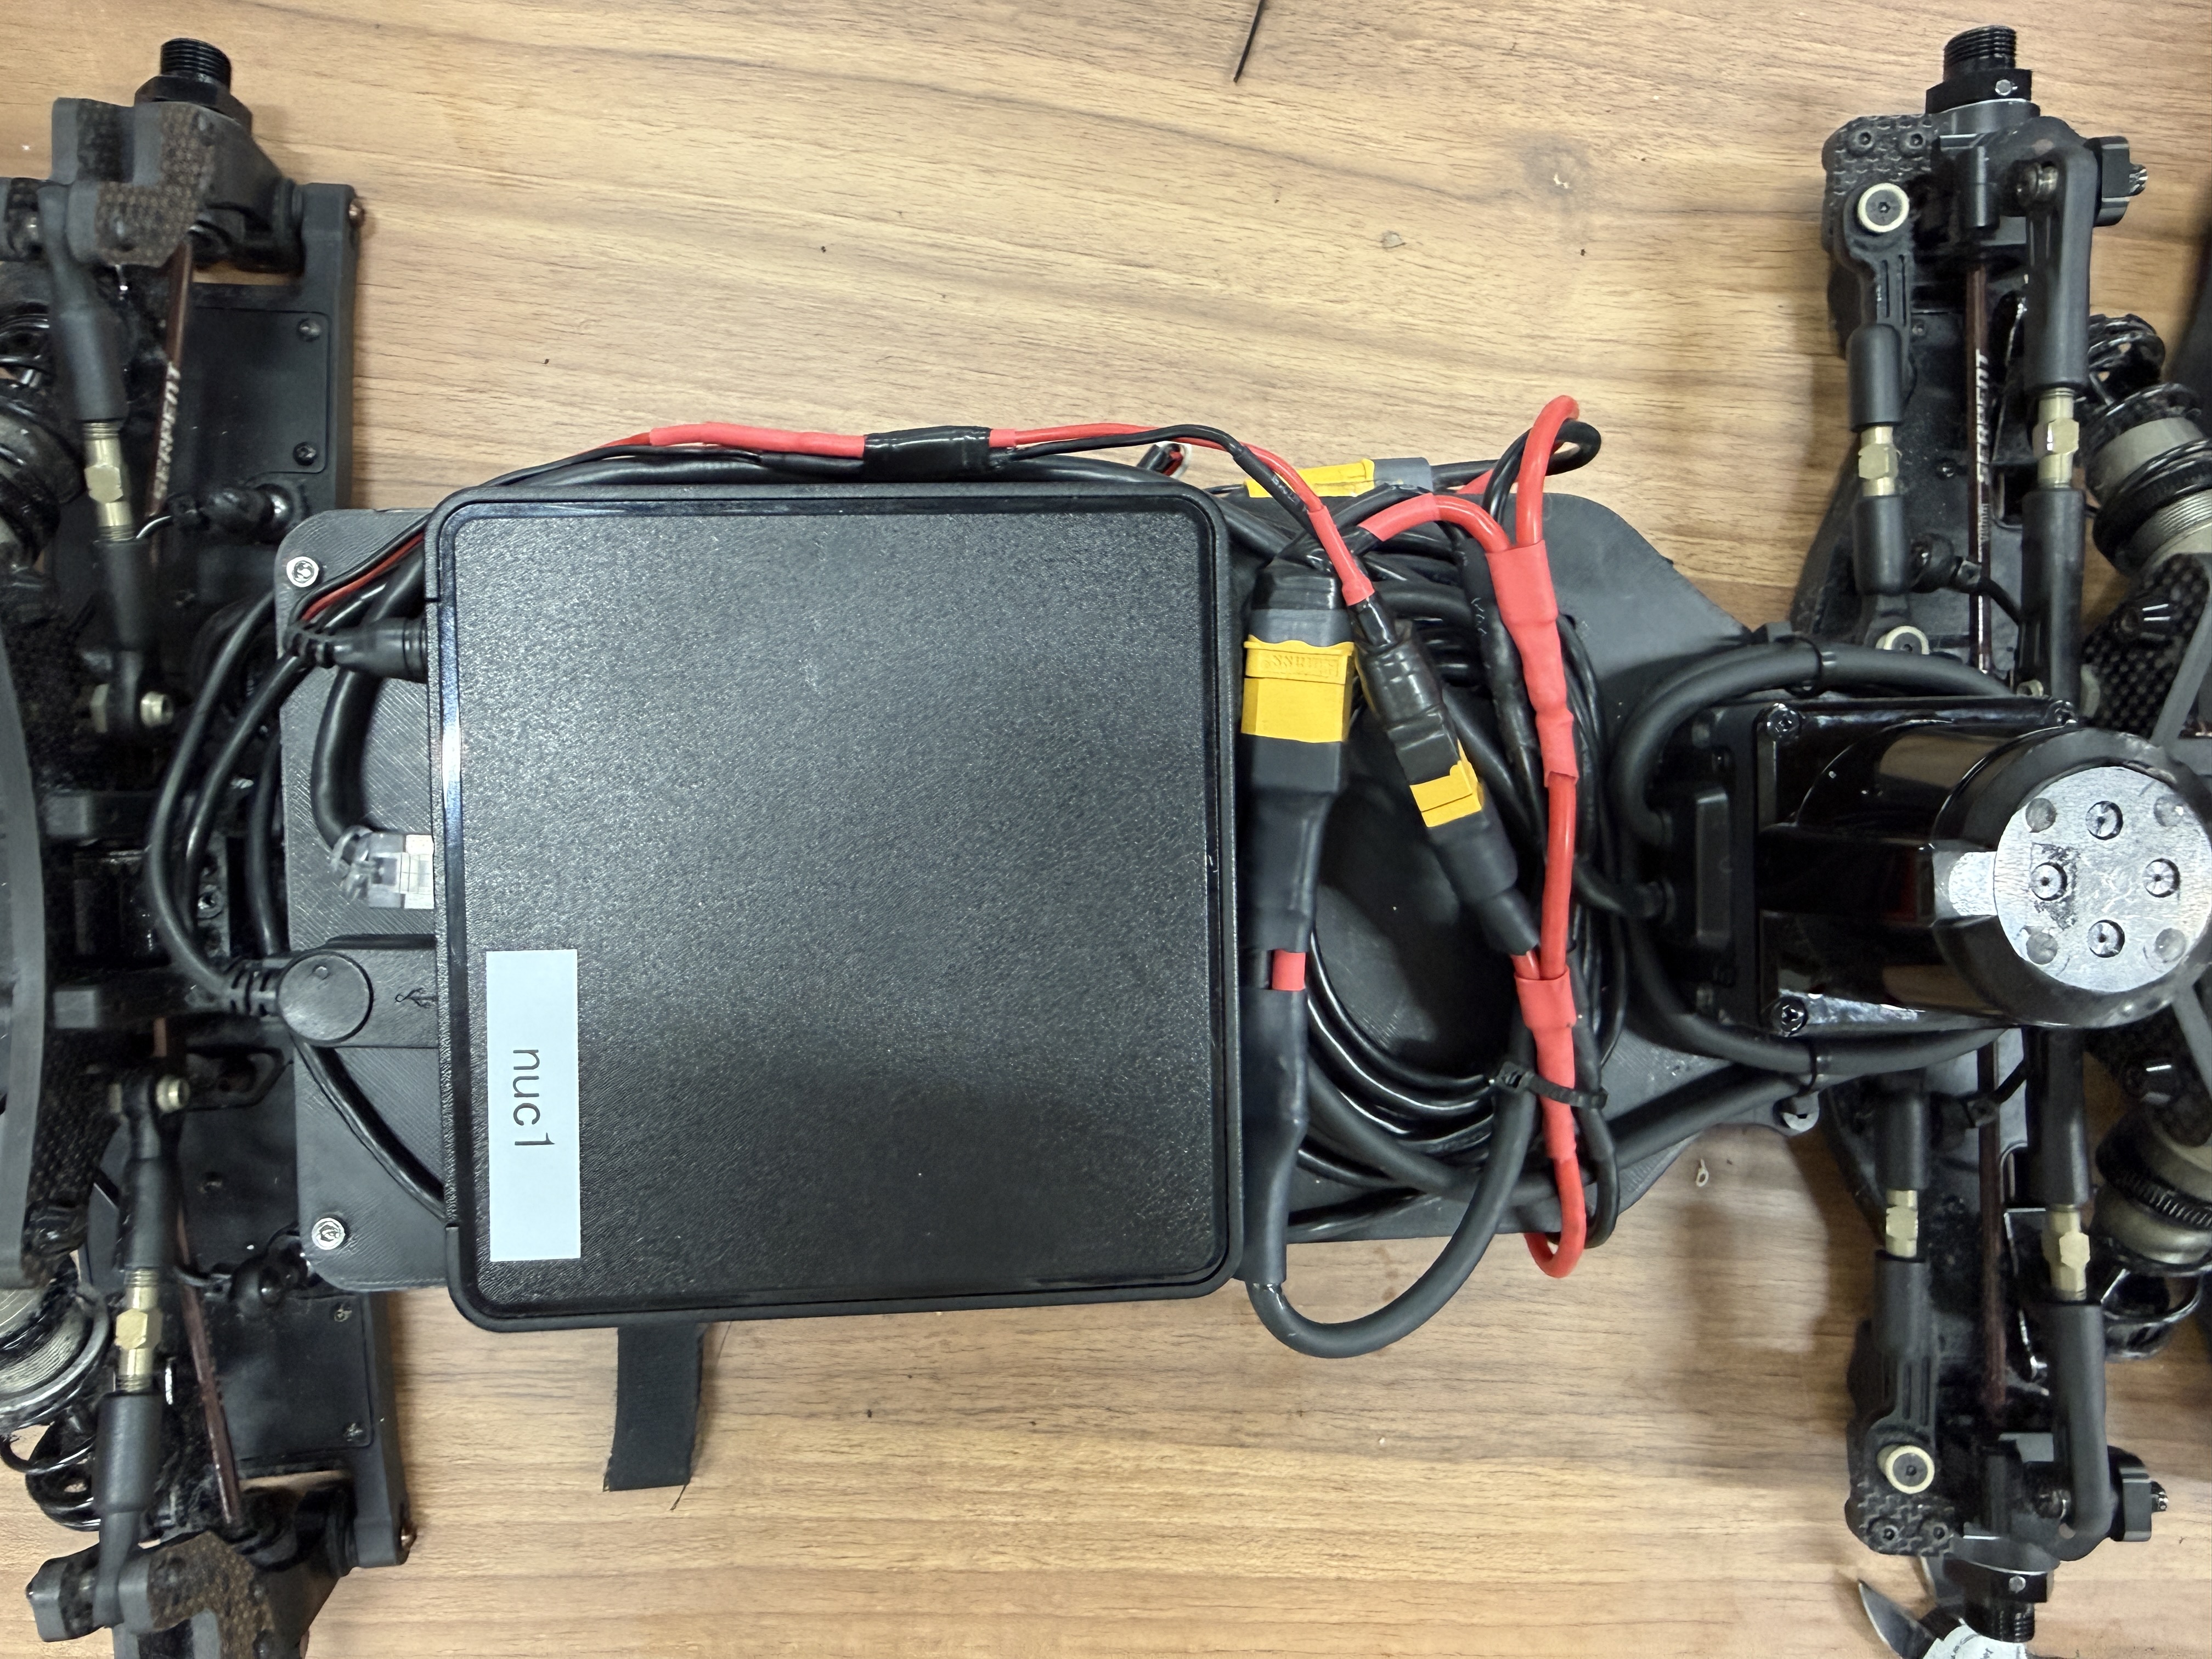 Using the spare volume above the top plate for cables
Battery Mounting Method
- We use Velcro straps and foam so the battery will not wobble during driving.
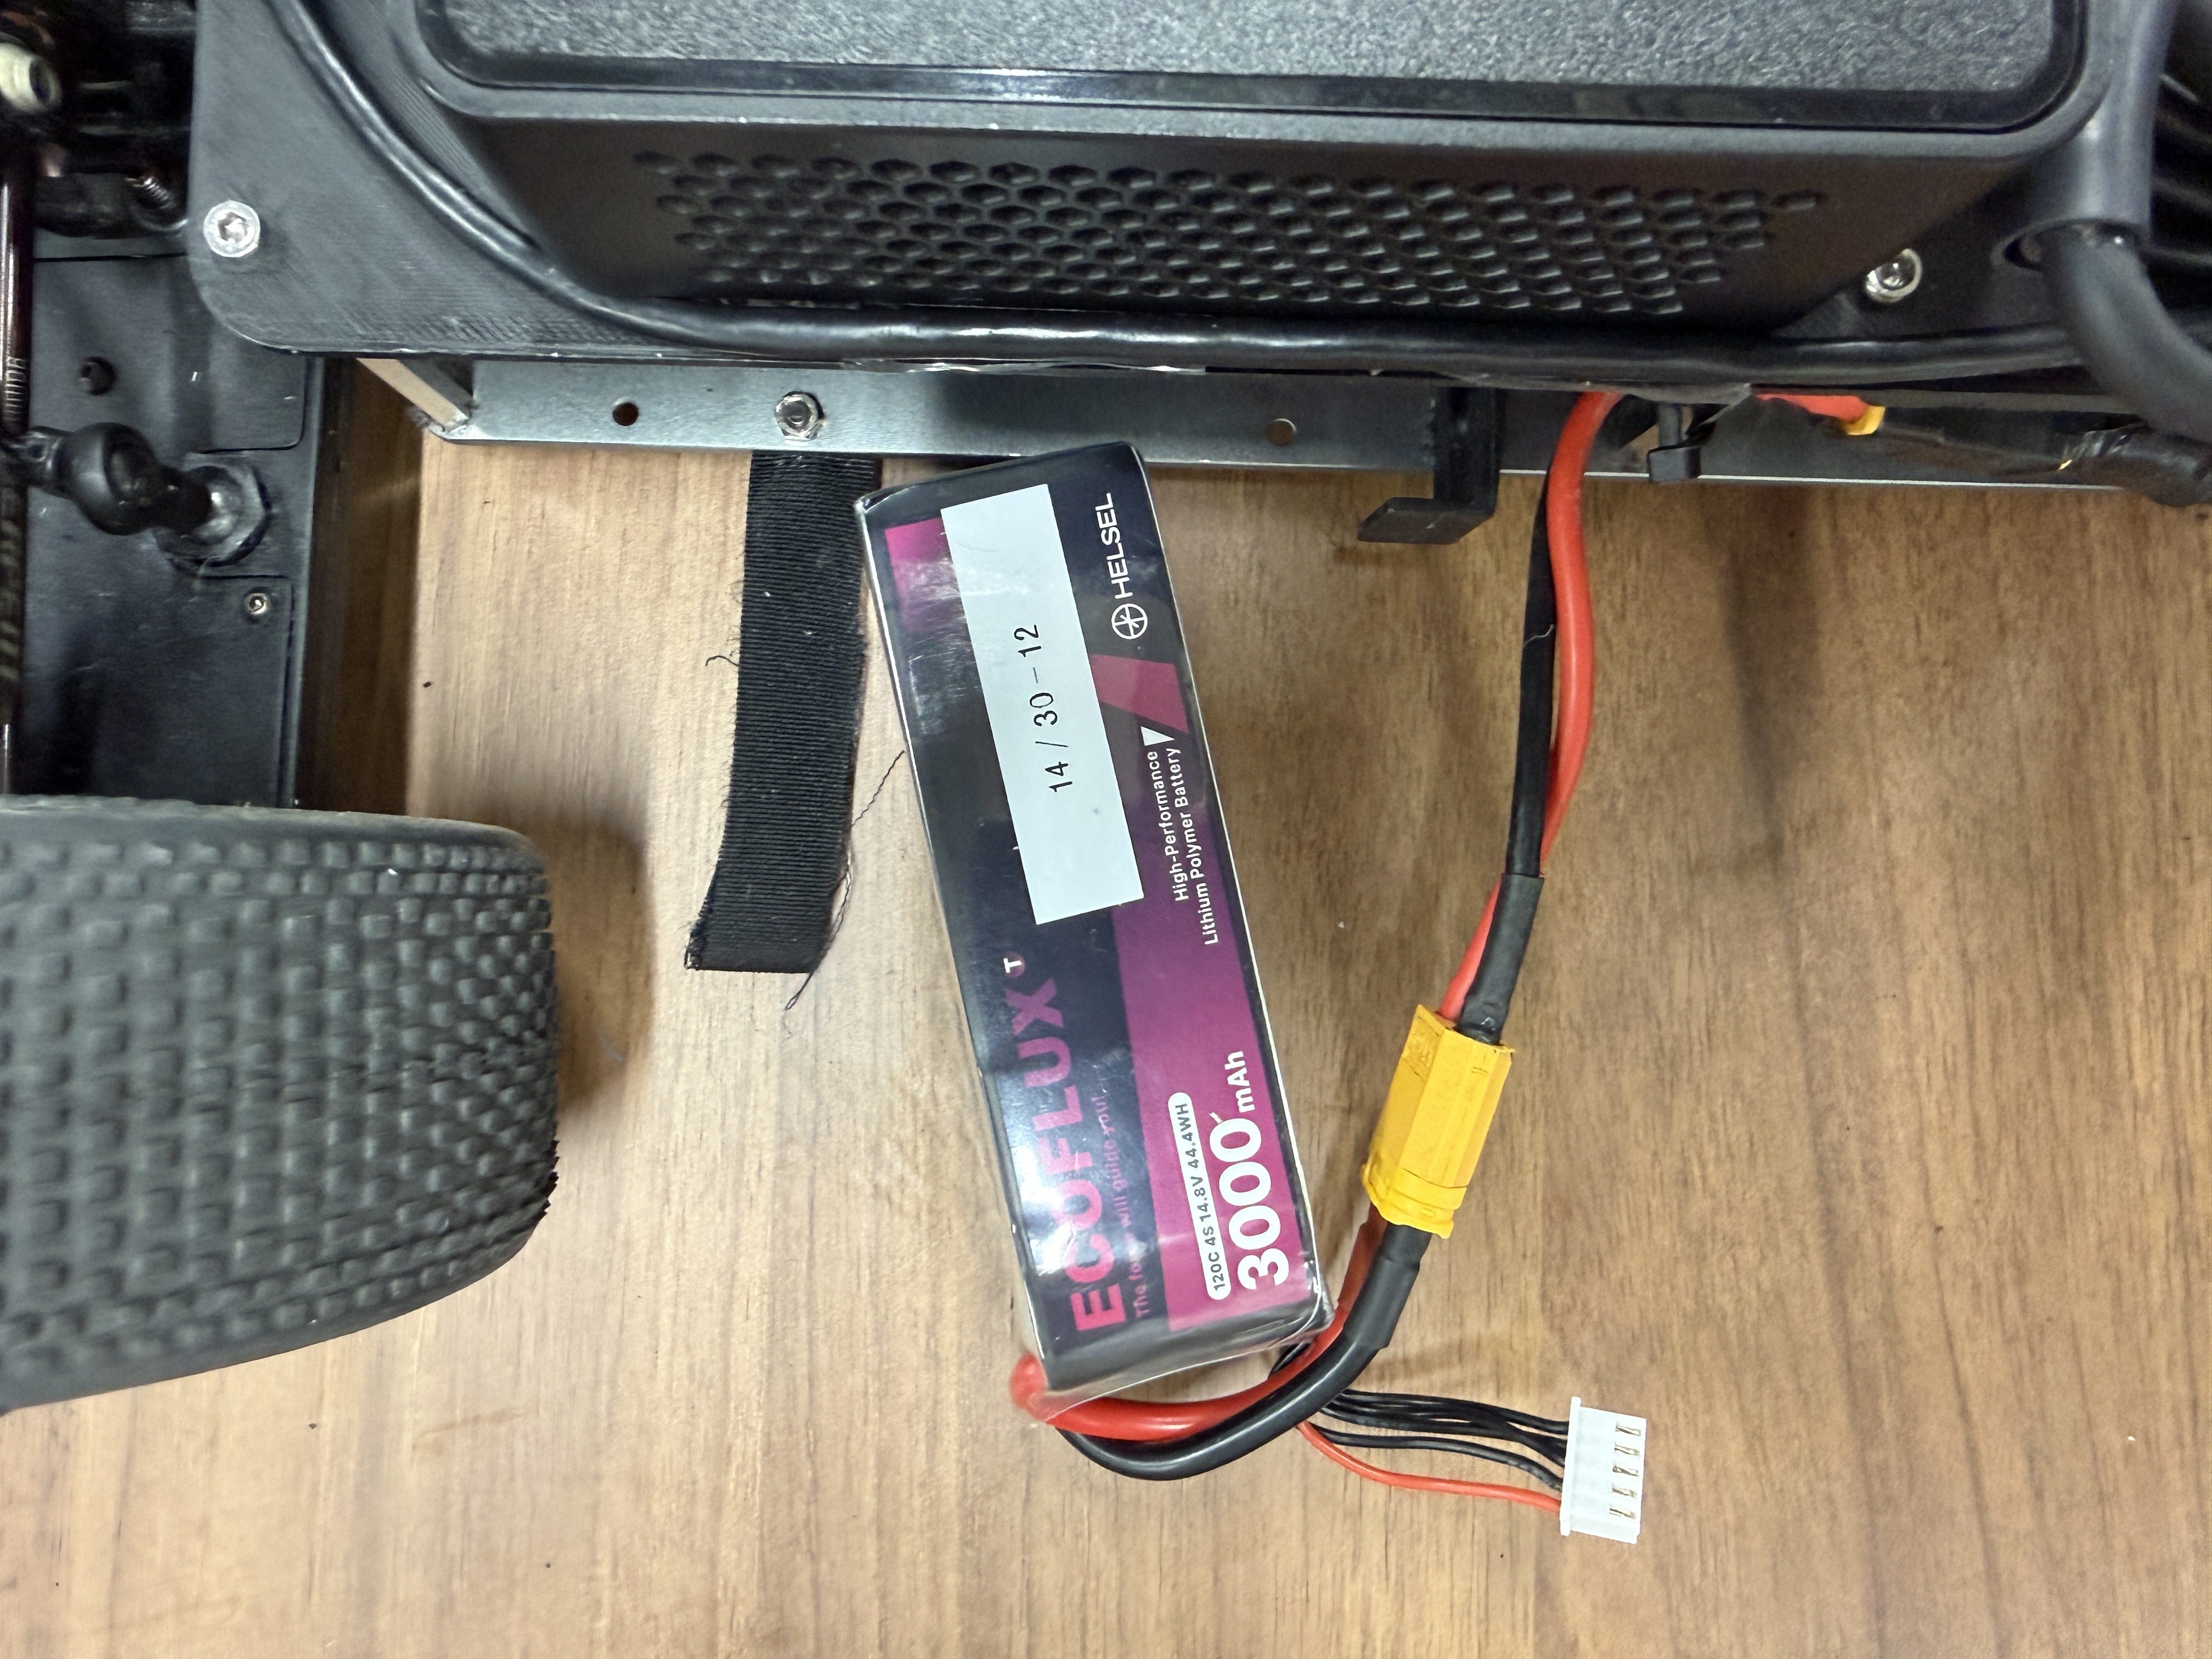
- Battery leads are aligned toward the chassis to avoid interference with moving parts.
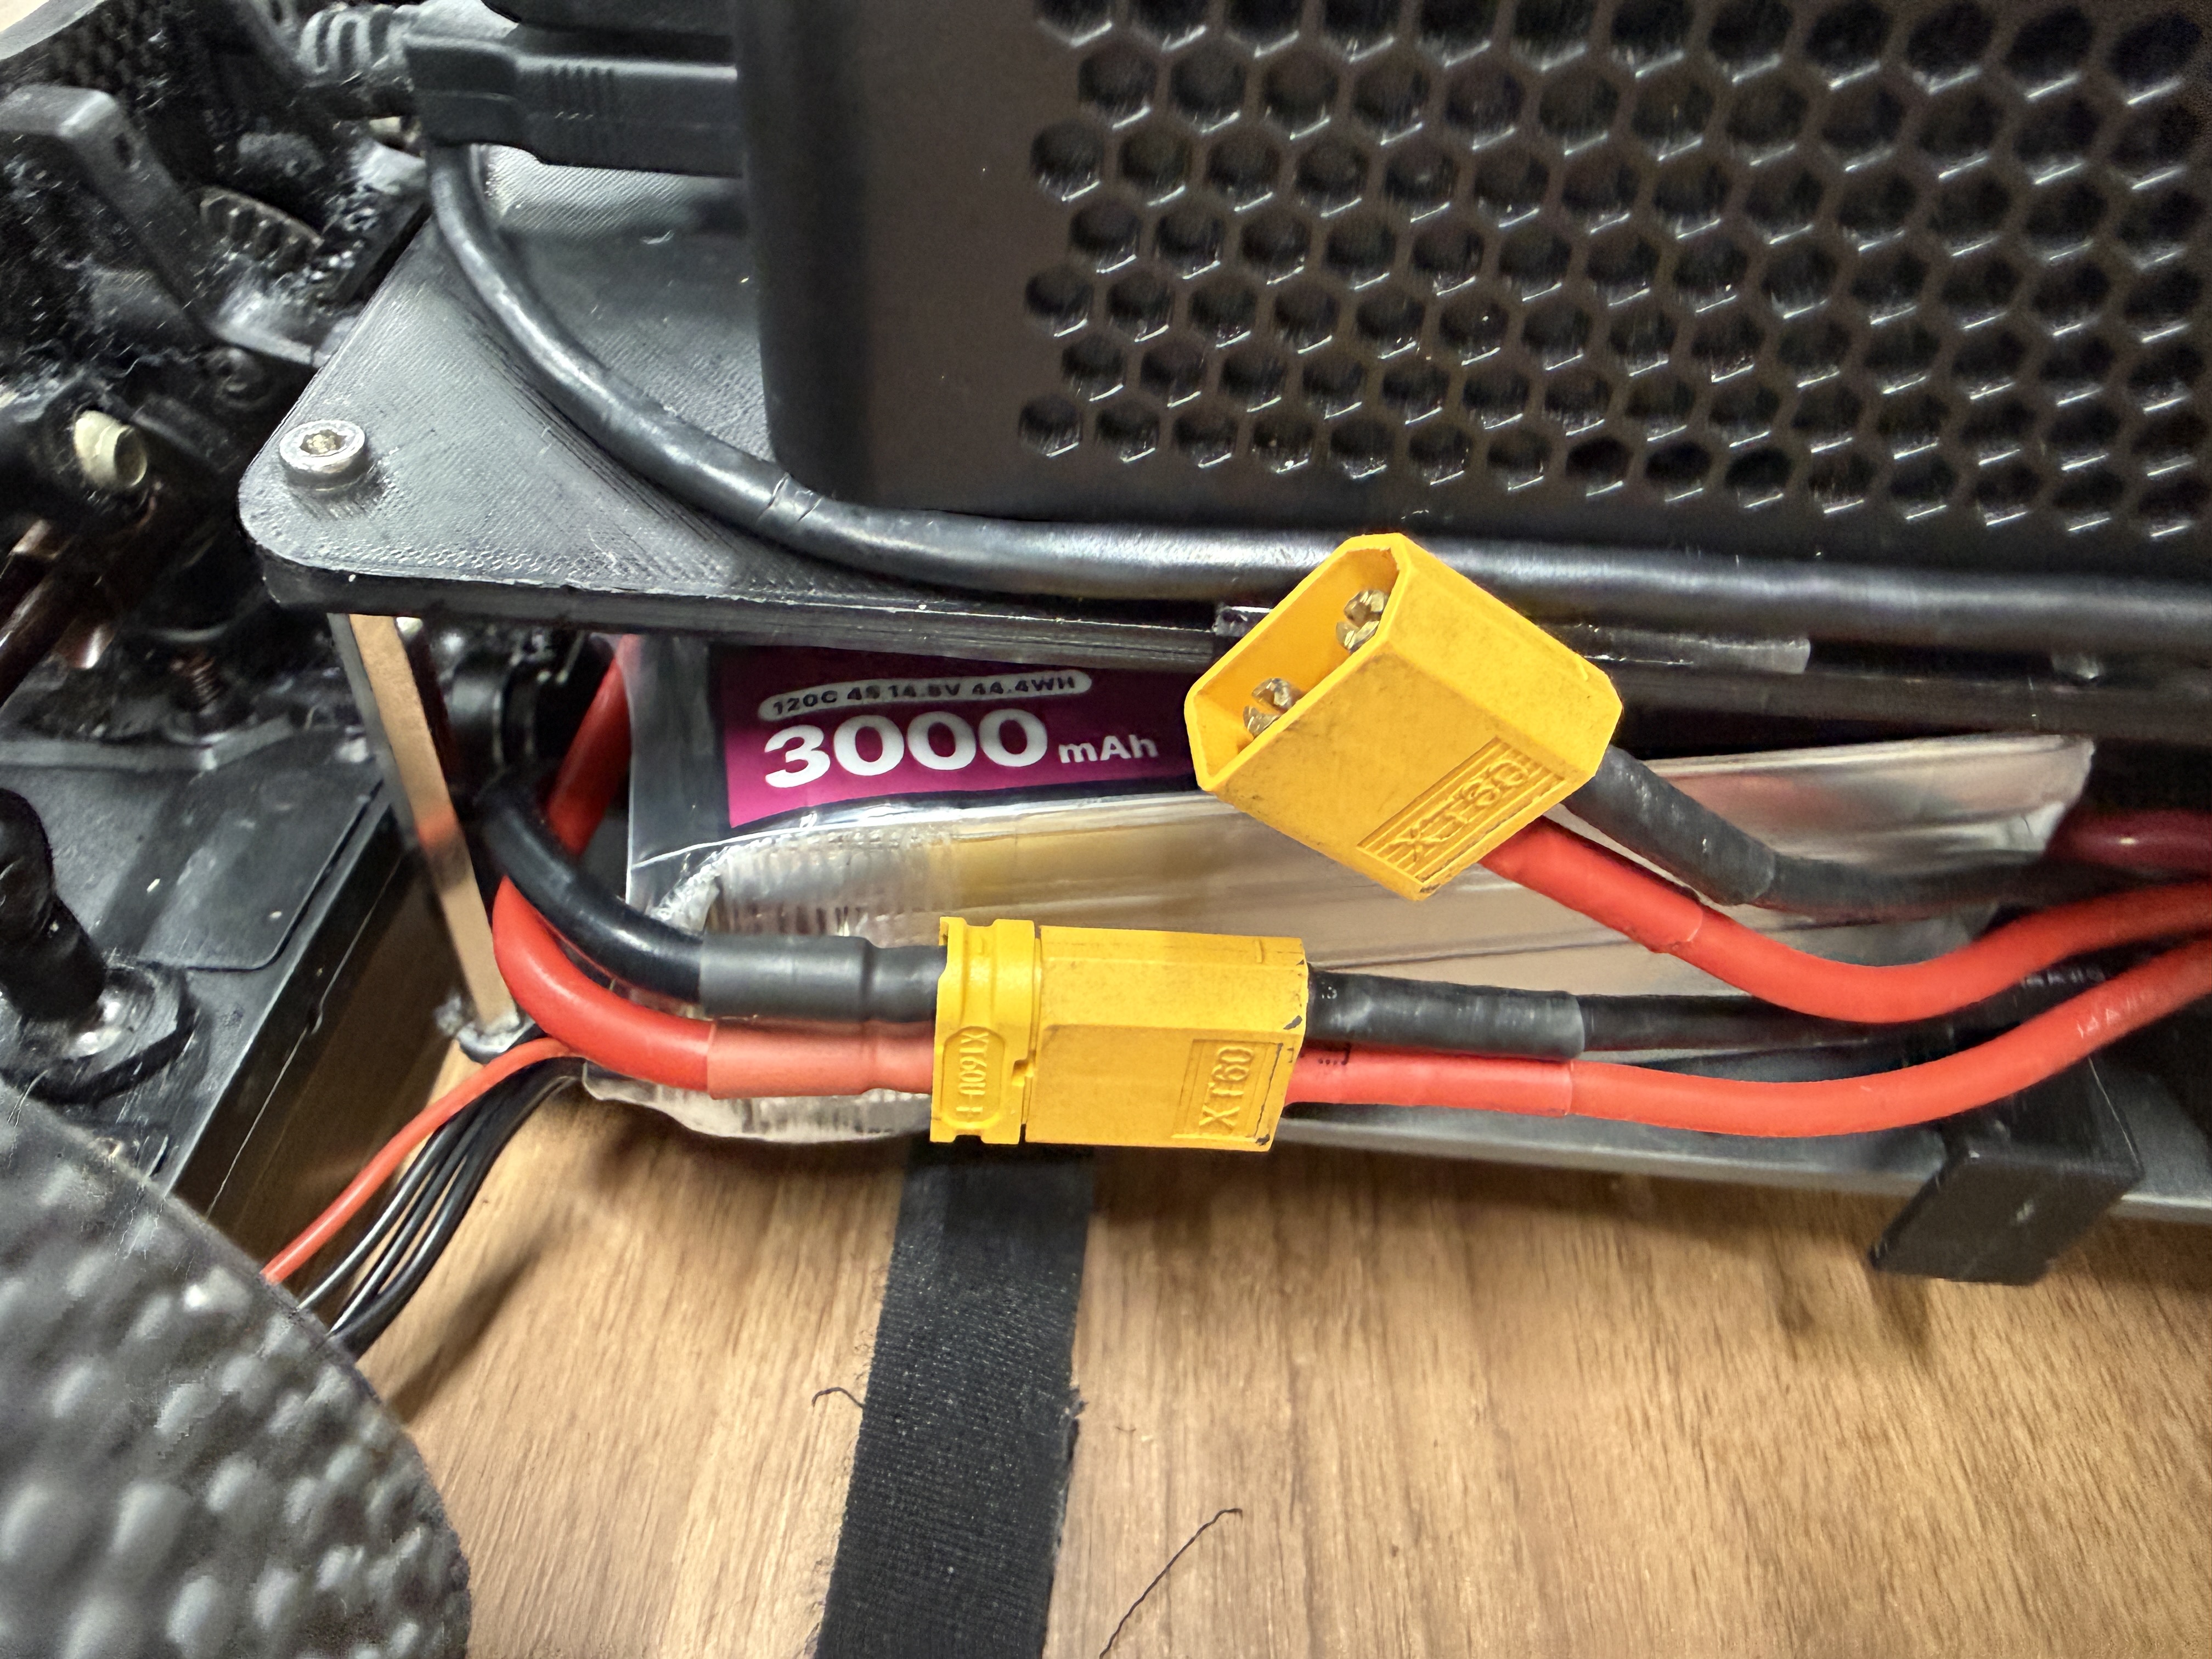
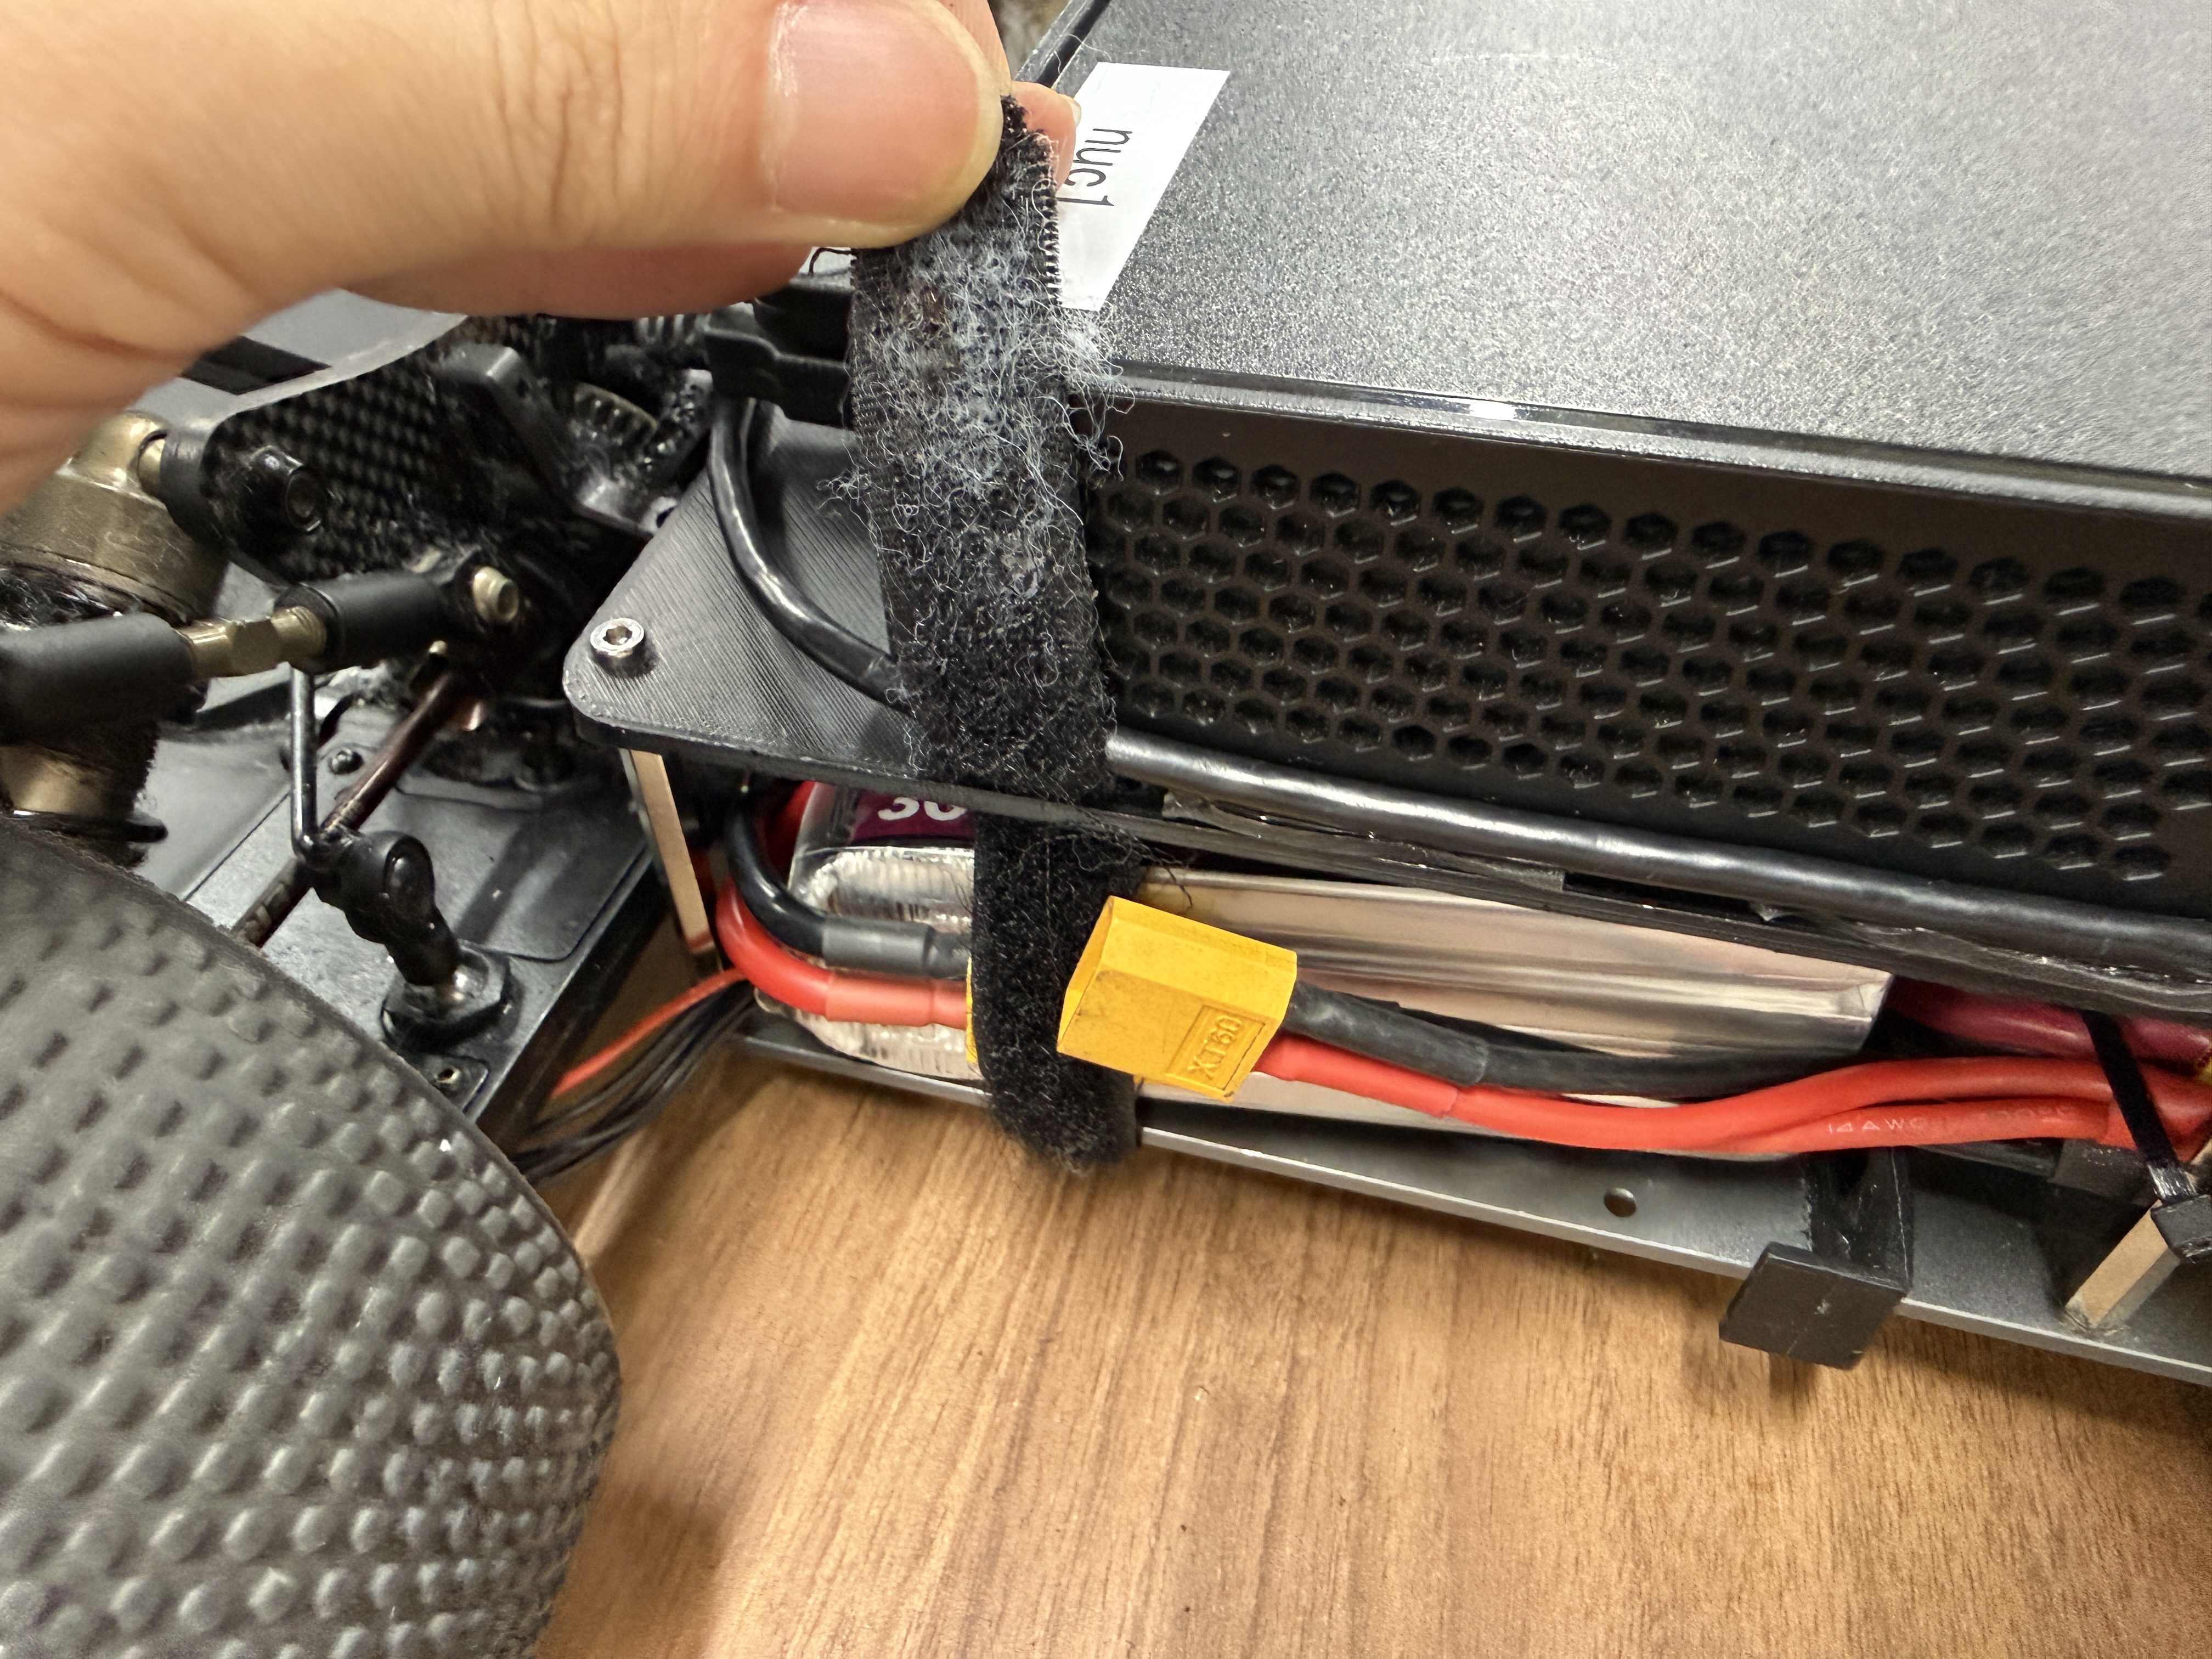
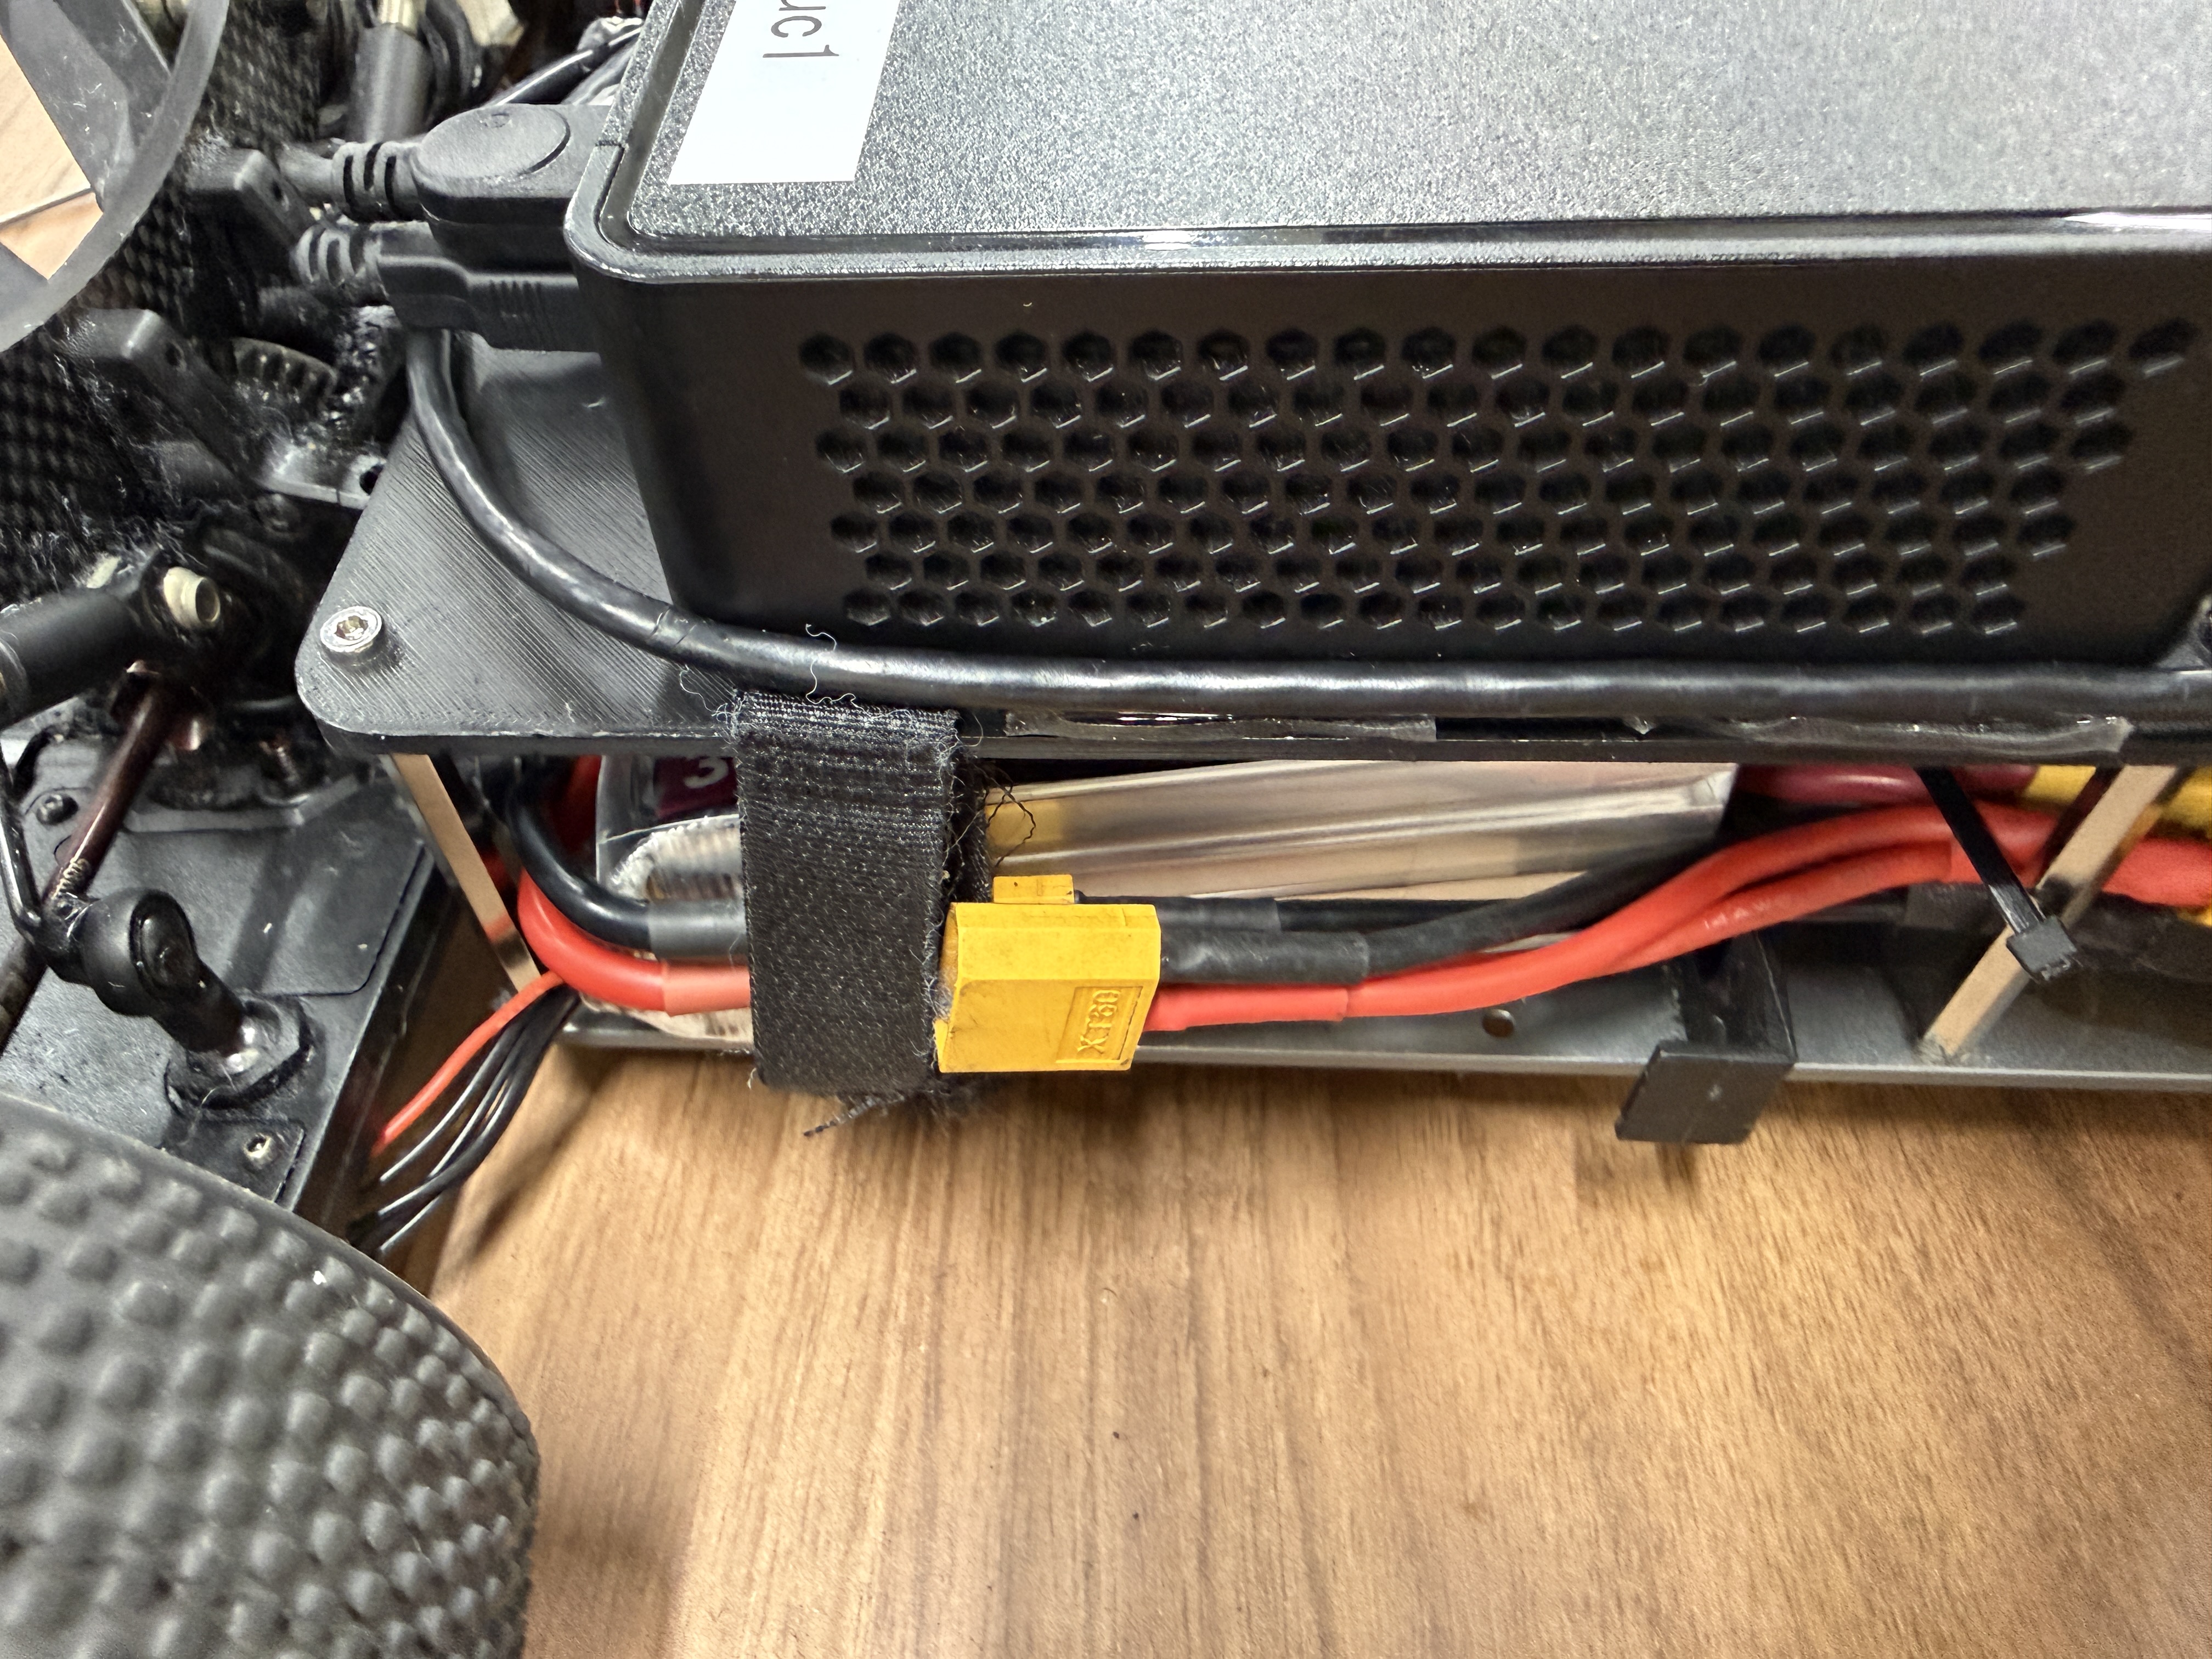 Straps and cable alignment keep the pack and leads stable
Wrap-up
Effective wire management hinges on minimizing interference and securing every cable. We leveraged free space (around the servo, under/above the top plate, along chassis ribs) to distribute routes, then locked them with cable ties or silicone tape. A final check that the battery and power leads do not contact moving parts completes the car for driving.